Installing the Ubuntu Operating System
Ubuntu Linux is a modern operating system designed for personal computers, servers, and various devices. It can be used as an alternative to Windows or macOS and is widely adopted by programmers, system administrators, and regular users for its stability, security, and flexibility.
Linux refers to a family of operating systems that act as an intermediary layer between the user, applications, and computer hardware. Like Windows or macOS, Linux enables you to manage files, run programs, and efficiently utilize your device’s resources.
Various versions of Linux power a vast number of servers, computers, and mobile devices around the world. According to industry estimates, between 70% and 90% of all servers globally run on Linux. This popularity stems from its flexibility, performance, security, and the ability to customize the system to meet specific needs.
Numerous modifications and distributions are built on the Linux kernel. A distribution (or distro) is a pre-packaged set that includes the operating system kernel, a selection of standard programs and drivers, a graphical user interface, and sometimes additional utilities for productivity or entertainment. For example, the Raspbian distribution, commonly installed on Raspberry Pi mini-computers, comes with pre-installed programming environments.
Ubuntu is one of the most popular Linux distributions, designed with end-user convenience in mind. It features a modern graphical interface, office software, and internet tools, making it an excellent choice for both beginners and advanced users.
To proceed, you need to install Ubuntu Server on the virtual machine you created in VirtualBox. The official system image (ISO file) can be downloaded from the developer’s website at:
https://ubuntu.com/download/server#releases
It is recommended to choose the latest Ubuntu Server 24.04 LTS version, as it offers long-term support, receives regular updates, and is well-suited for both educational and production server deployments.
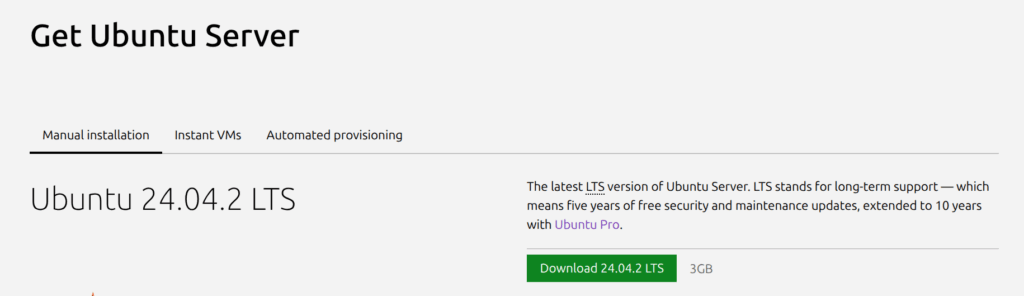
Download the ISO image of Ubuntu Server 24.04 LTS and save it to your computer. You will use this file to install the operating system on your virtual machine.
You now have a newly created virtual machine and have downloaded the Ubuntu Server 24.04 image. The next step is to begin installing the operating system on the virtual machine.
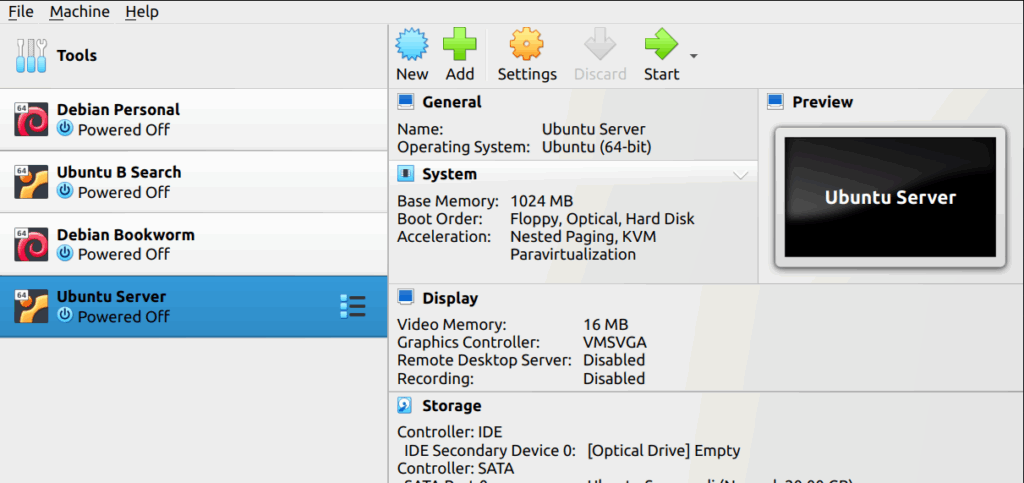
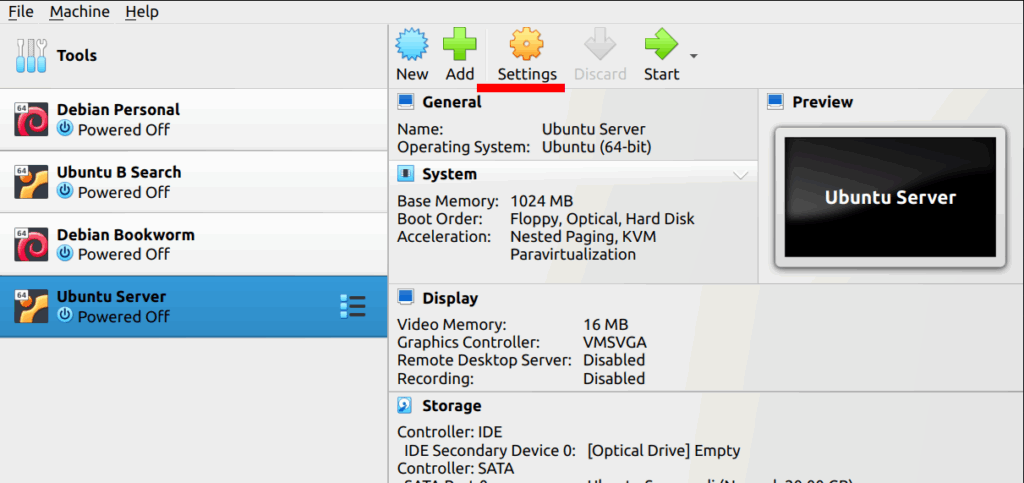
Before starting the installation, it is advisable to open the settings of your virtual machine in VirtualBox and verify that all configuration parameters are set correctly and optimized for Ubuntu Server.
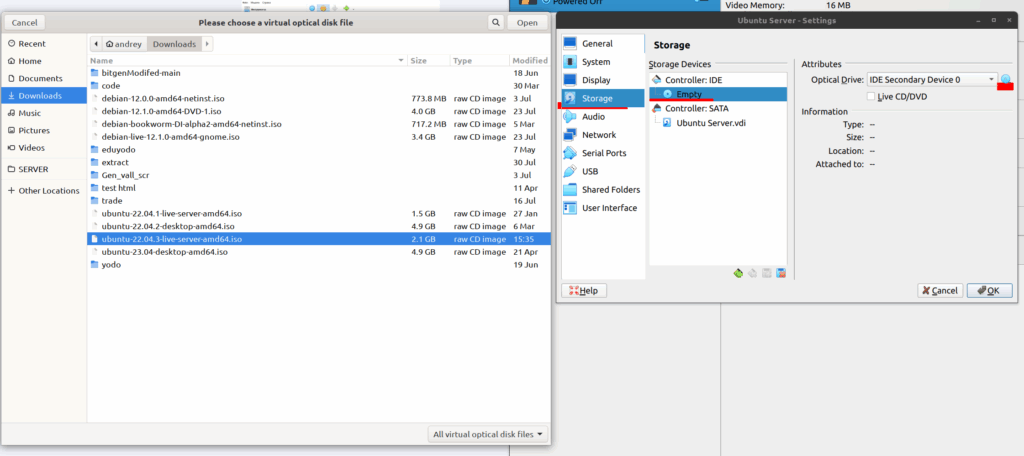
In the virtual machine settings, you need to attach the previously downloaded Ubuntu Server ISO image to begin the installation. Go to the Storage section, select Empty, click Choose a disk file, and browse to the ISO file you downloaded. After selecting the image, click OK to save the changes.
Next, configure the network settings for your virtual machine. Open the Network section and select the Bridged Adapter mode. In this configuration, the virtual machine operates on the same network as your main computer: its MAC address and assigned IP address will appear on your router. This allows you to access the virtual machine from any device within your home network, which is ideal for learning and testing server functionality.
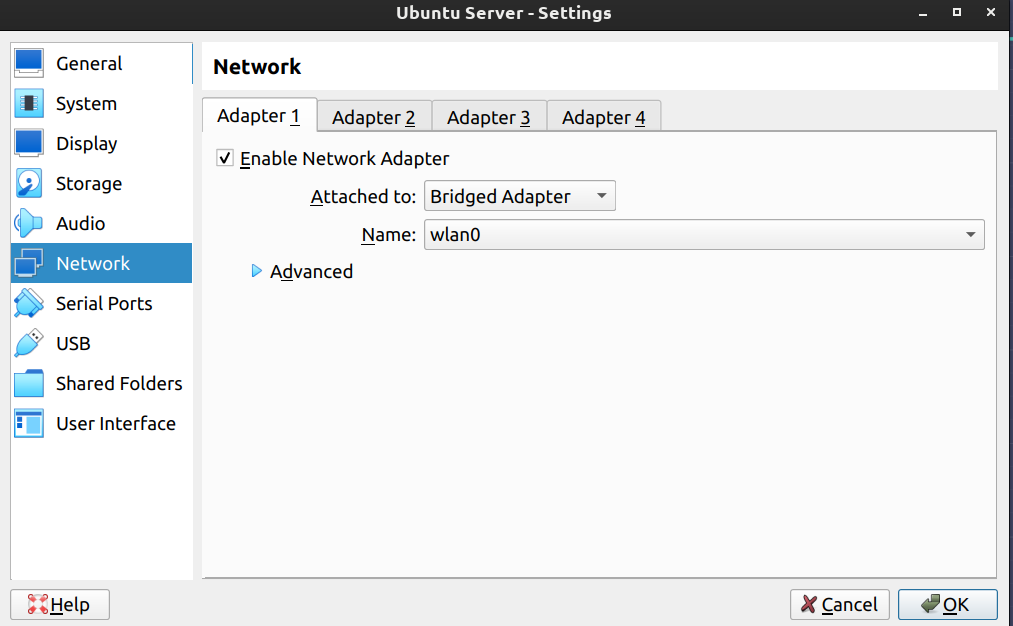
The Name parameter specifies the network interface through which your computer connects to the internet or local network. This is usually a wired or wireless connection (for example, eth0, enp3s0, wlan0, etc.). Select the appropriate interface from the dropdown list.
After completing the basic configuration of your virtual machine, you can proceed to start it and begin the operating system installation. Modern distributions based on RedHat or Debian (including Ubuntu) are designed to be user-friendly and feature intuitive installers with helpful instructions at each step.
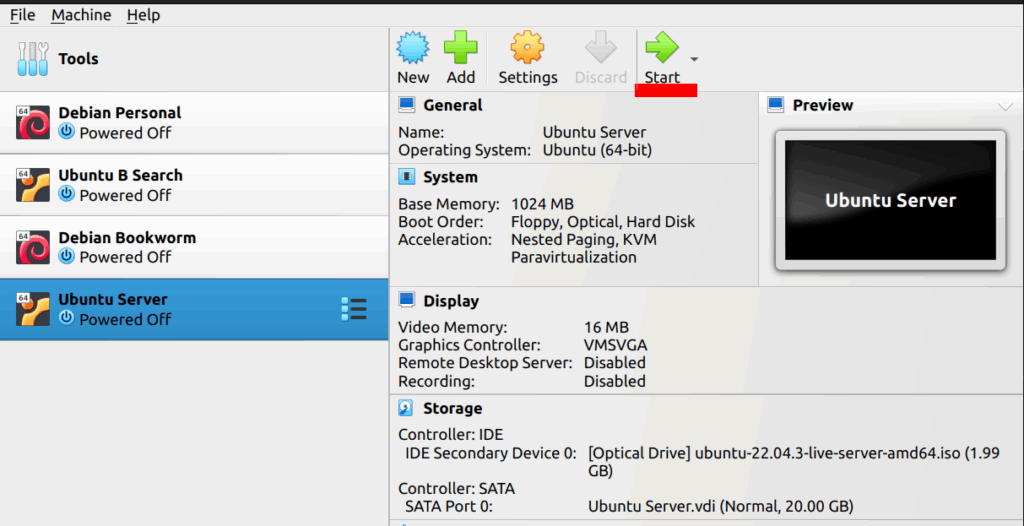
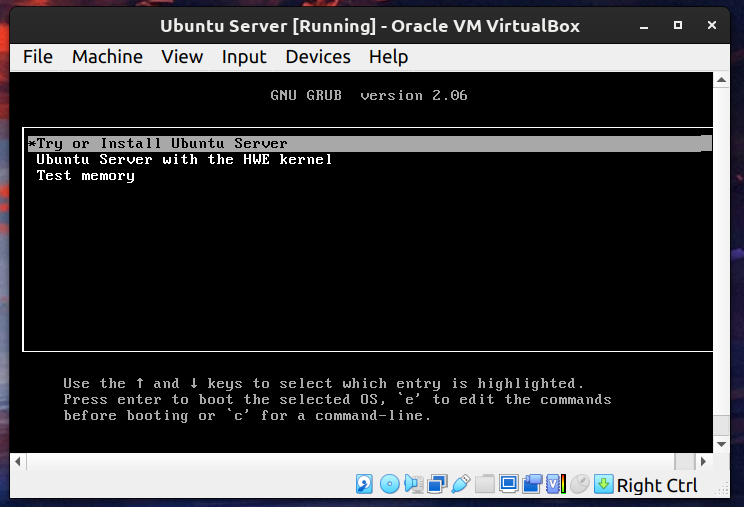
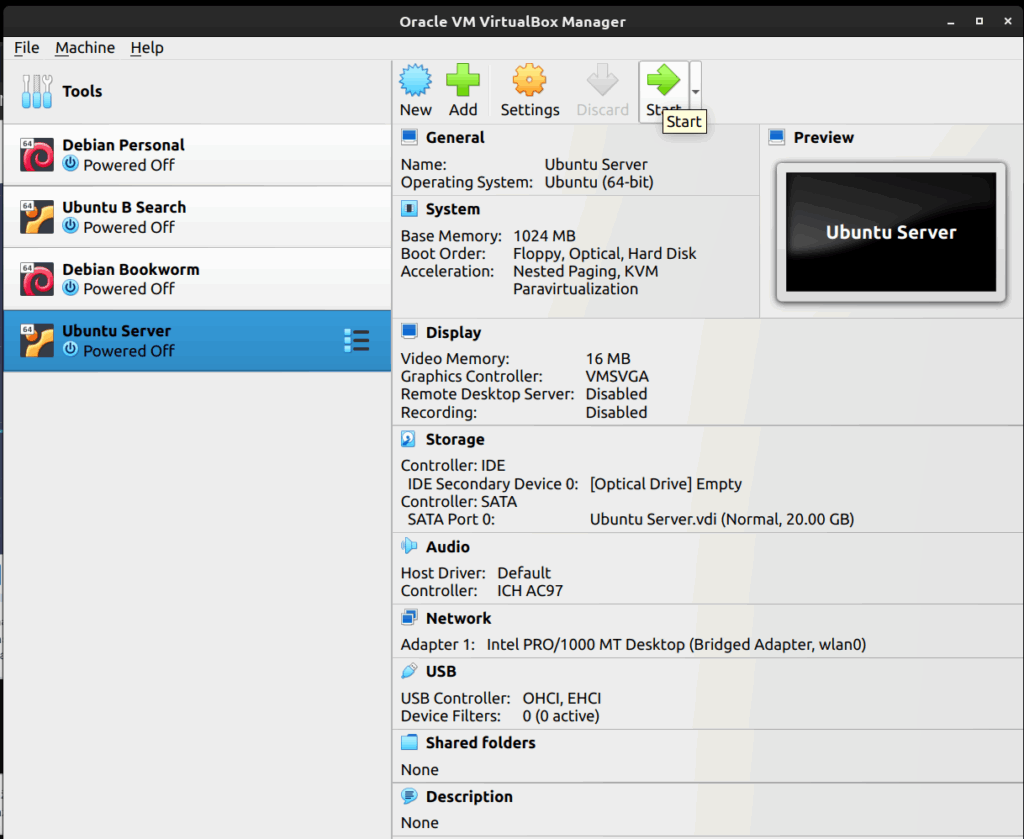
First, start the newly created virtual machine in VirtualBox and wait for it to boot from the connected Ubuntu Server 24.04 installation image. When prompted to begin the installation, simply press Enter to continue.
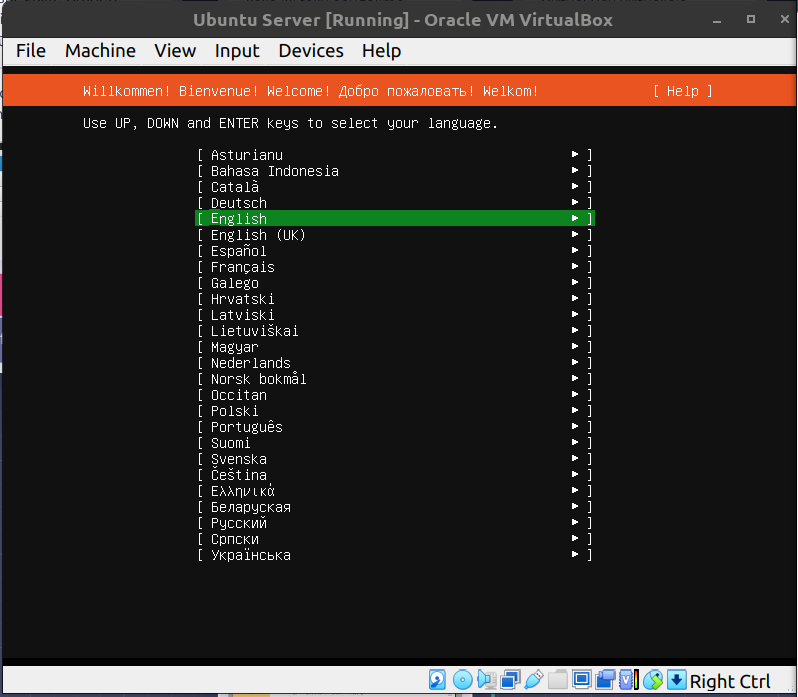
There is no need to review every installation step in detail, as most stages follow the default options and require minimal input. However, we will focus on a few key points. The entire process will be illustrated with appropriate screenshots.
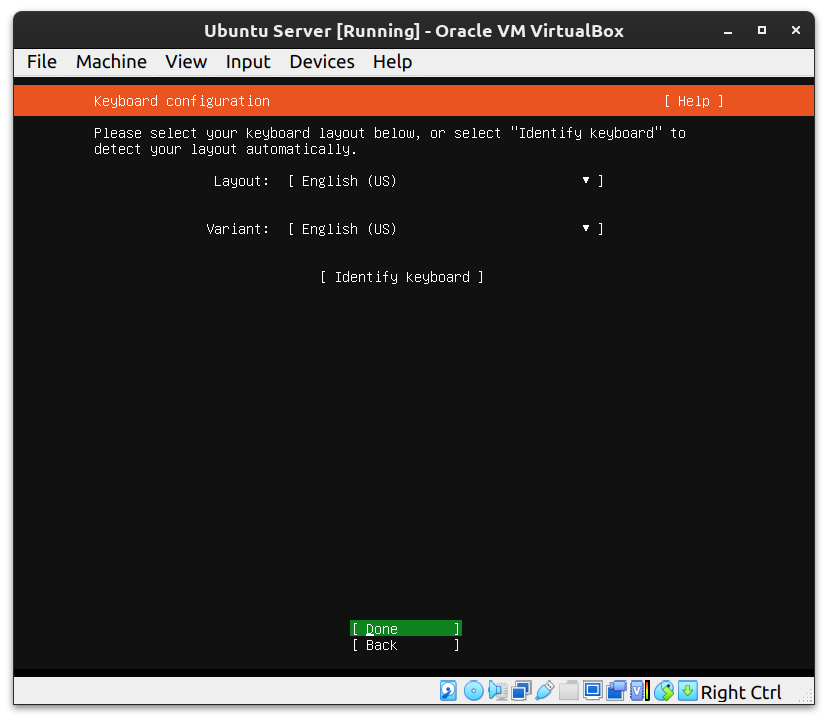
At the keyboard layout selection step, it is recommended to keep the default setting if you are using a standard keyboard with your usual layout. You can select a different layout if needed, but for most users, the default option is optimal.
Next, the installer will prompt you to select the installation base. There are two options:
- Ubuntu Server — provides a complete set of software required to run and manage an Ubuntu server. This is the recommended option for most educational and production scenarios.
- Ubuntu Server (minimal) — a minimal installation, suitable for environments with limited resources or where a compact system is needed.
It is recommended to select the first option — Ubuntu Server — to ensure you have all necessary utilities and tools for subsequent tasks.
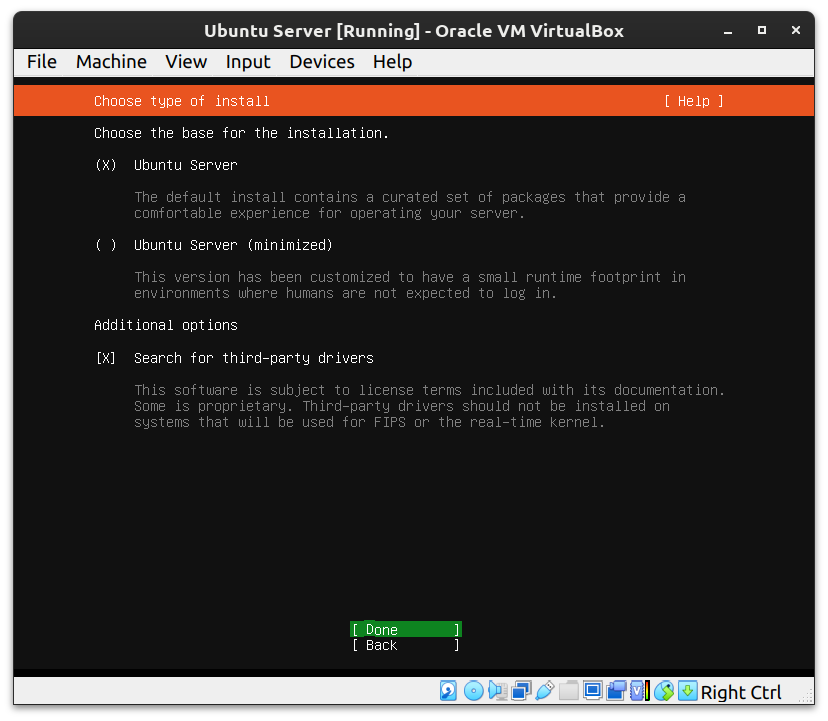
On the same screen, also select “Install third-party drivers.” Use the TAB key to navigate between options and Spacebar to select or mark a checkbox.
Now proceed to configure the network. Since you selected Bridged Adapter mode in your virtual machine settings, the virtual machine should automatically receive an IP address from your router using DHCP.
In most cases, you can keep the default network configuration — DHCP will automatically assign an IP address to your virtual machine from your home network range. Use the arrow keys to navigate the menu and Enter to make a selection.
If you see that an IP address has been successfully obtained and is displayed on the screen, you do not need to make any changes — simply proceed to the next installation step. If, for any reason, you require a static (permanent) IP address, you can set it manually by choosing the corresponding option and entering the desired parameters.
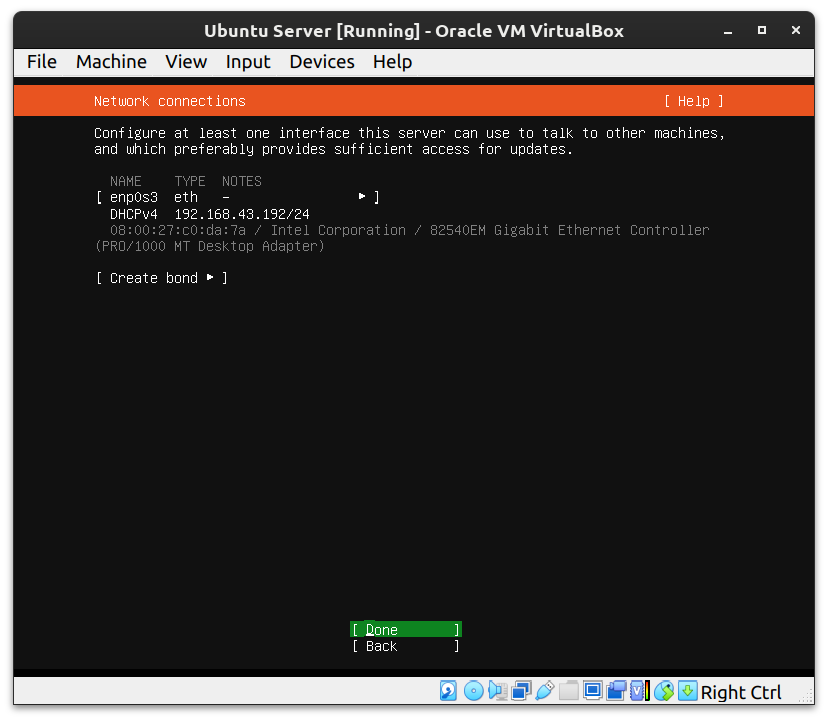
Take note of the assigned IP address — you will need it later to work with the server, especially for remote access via SSH or when connecting other devices from your network.
At the next installation step, you will be asked to specify a proxy server for internet access if your network requires one. In most home and educational networks, a proxy server is not needed — simply leave this field blank and continue.
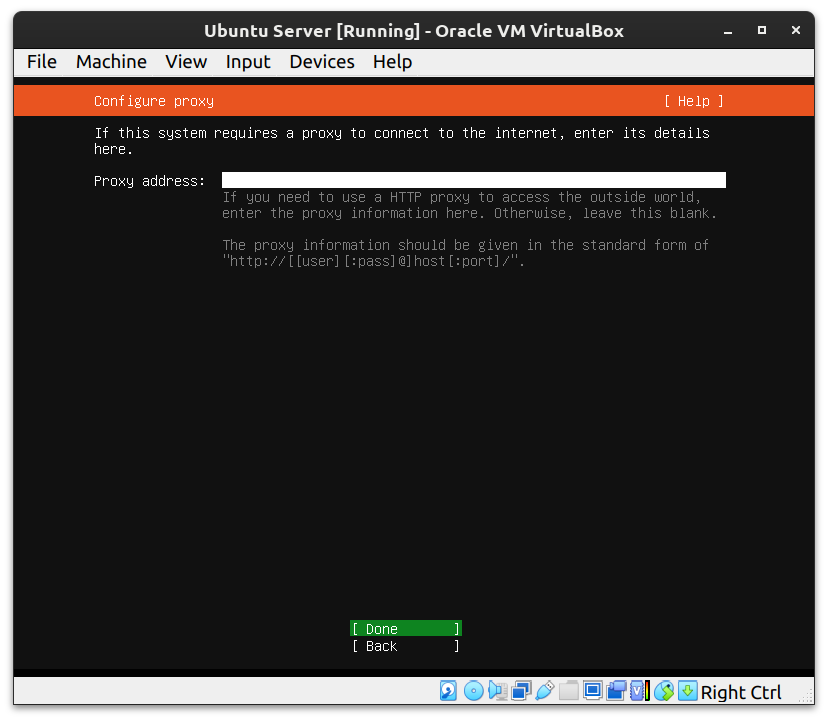
The installer will then automatically detect and select the nearest Ubuntu Archive Mirror based on your current location. Usually, there is no need to change this setting — the system will choose the optimal mirror for downloading packages and updates efficiently.
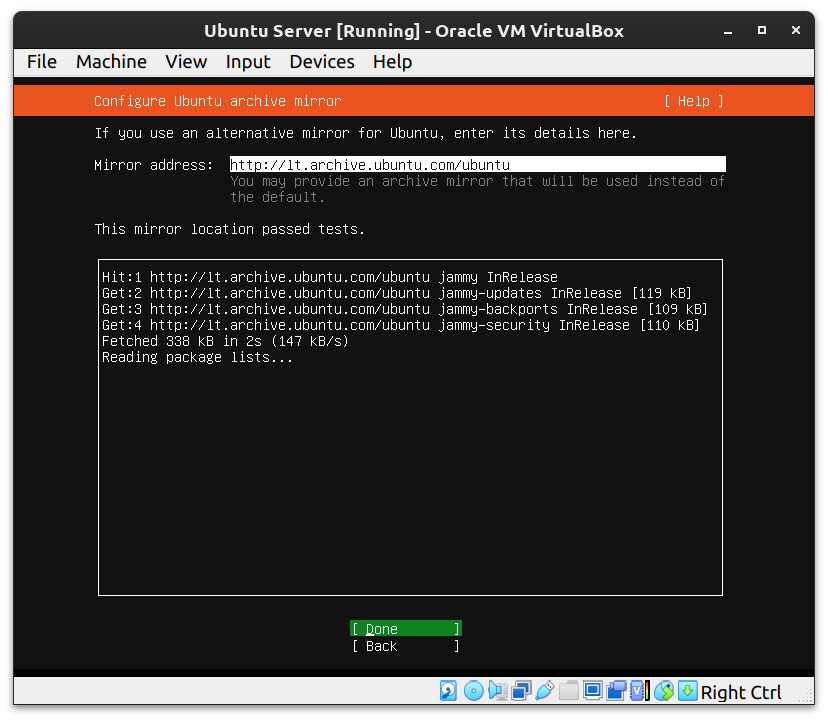
After reviewing and confirming these settings, proceed to the next stage of the installation.
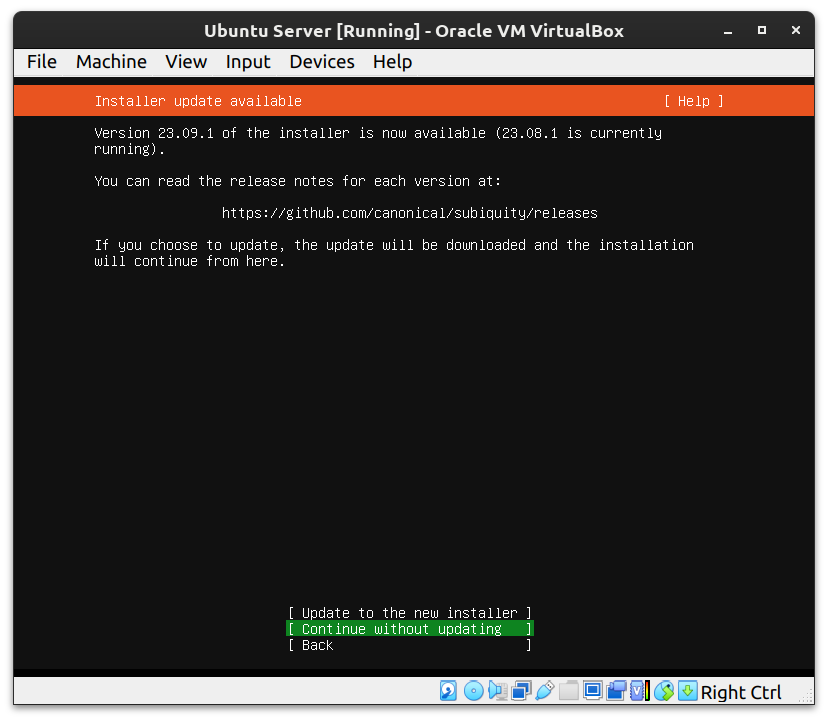
At the system update step, select Without Update. This will speed up the installation process; any necessary updates can be performed after the installation is complete and the system is running.
Next, select the virtual disk where the operating system will be installed. If you have followed the previous instructions, there should be only one disk available, which was created for this virtual machine.
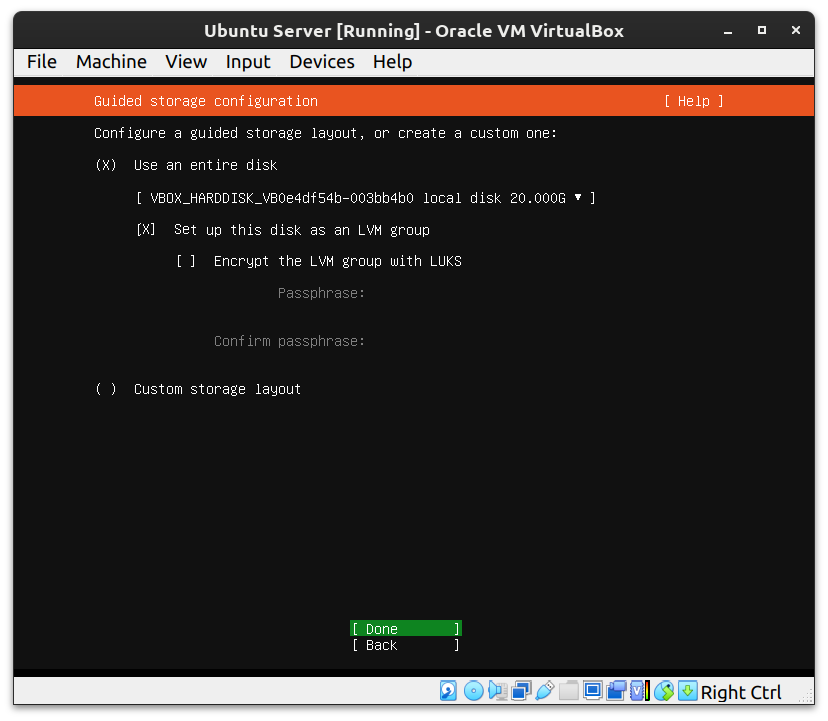
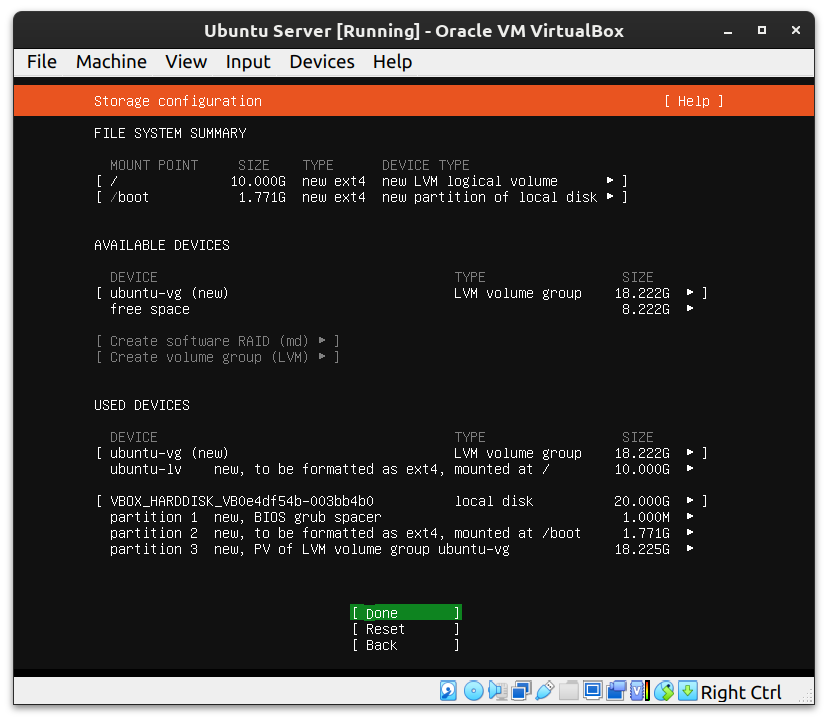
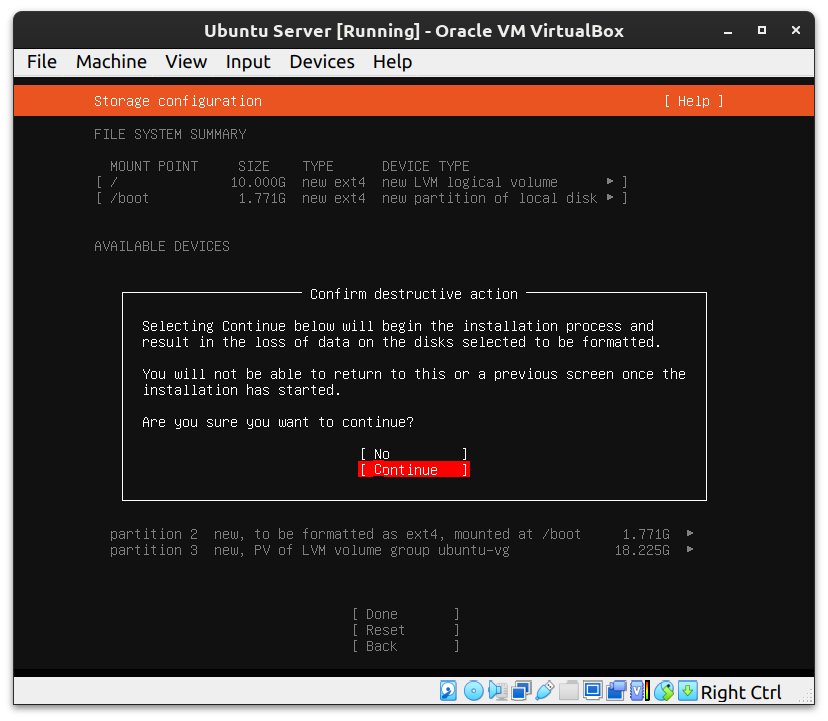
At this stage, it is recommended to leave all settings unchanged and proceed with the installation, following the installer prompts.
At the next step, you need to specify a username, set a strong password, and assign a hostname for your virtual machine. The username and password will be used to log in and manage the server.
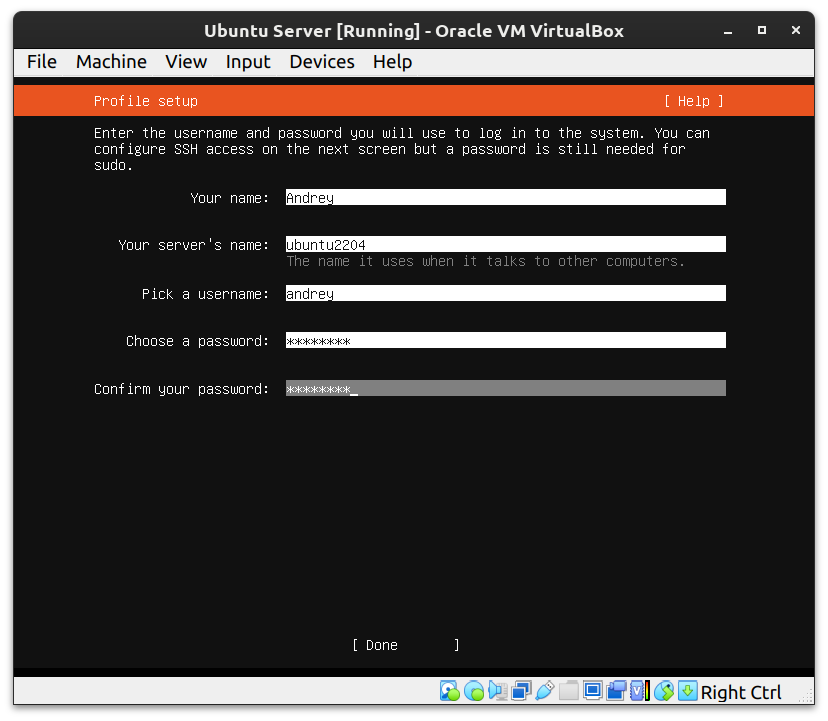
It is recommended to choose a unique username and a complex password to ensure the security of your server. The hostname can be any name, but it is best to use something meaningful that reflects the server’s purpose (e.g., ubuntu-server, test-vm, etc.).
At this stage, you should also select Install OpenSSH server. This will allow you to connect to your virtual machine via SSH, which is especially convenient for remote server management.
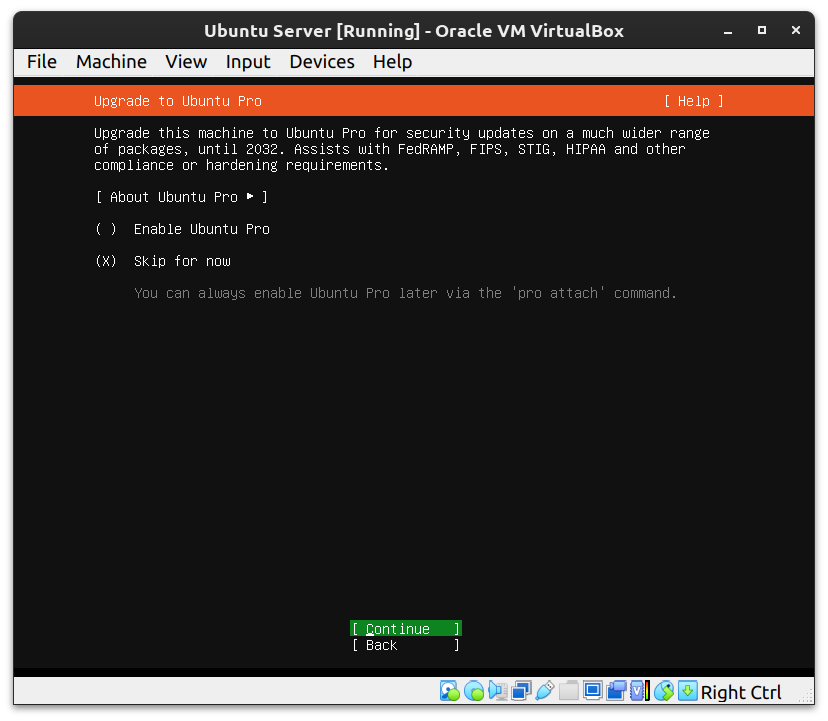
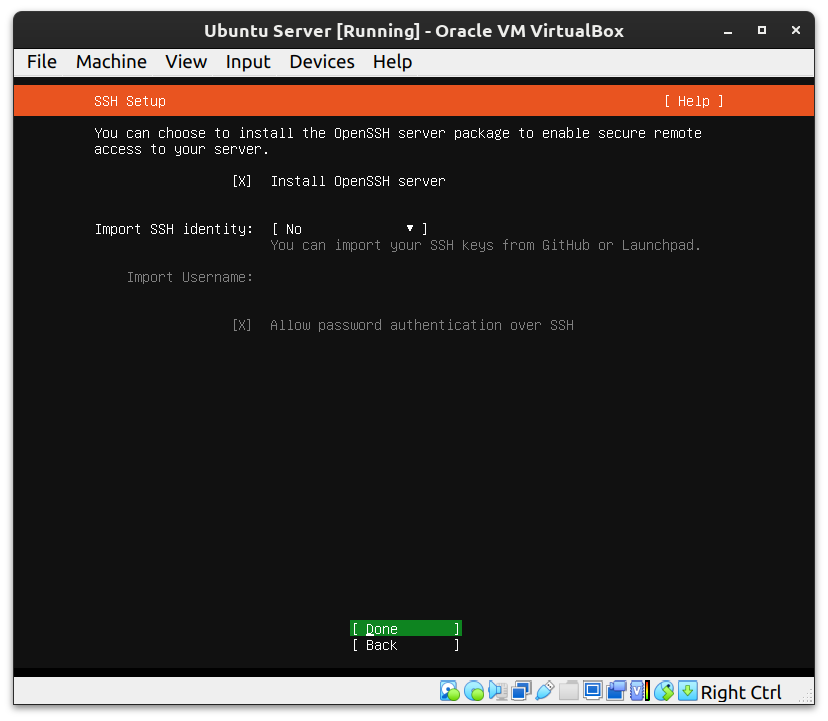
Be sure to remember the username and password you set here — you will need these credentials to access the system, including when connecting via SSH.
Follow all steps as shown in the upcoming screenshots.
At the additional software selection step, it is recommended not to select any options. Usually, it is more convenient and flexible to install all required applications and utilities manually via the command line after the main system installation is complete, or by using deployment automation tools such as Ansible.
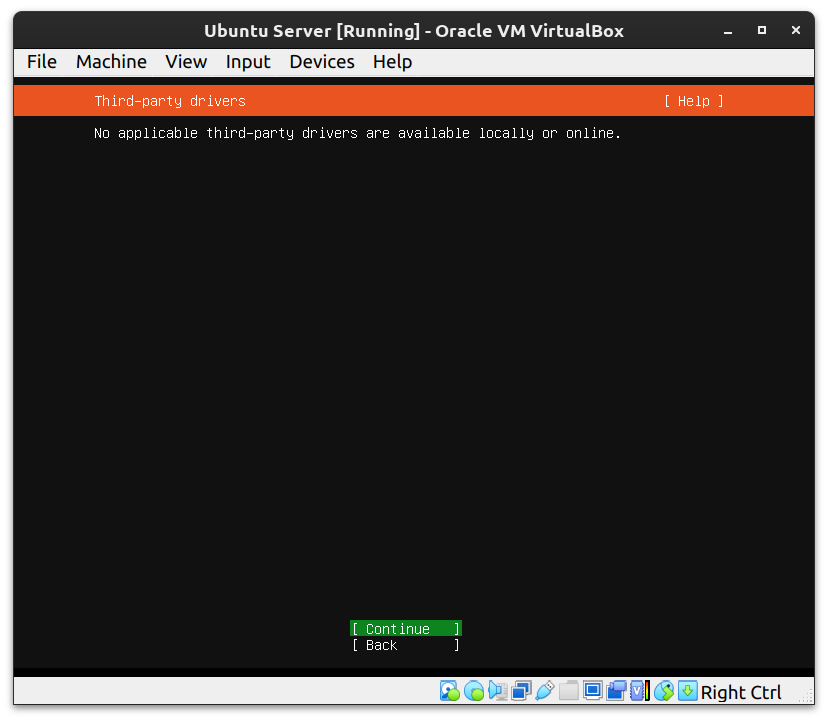
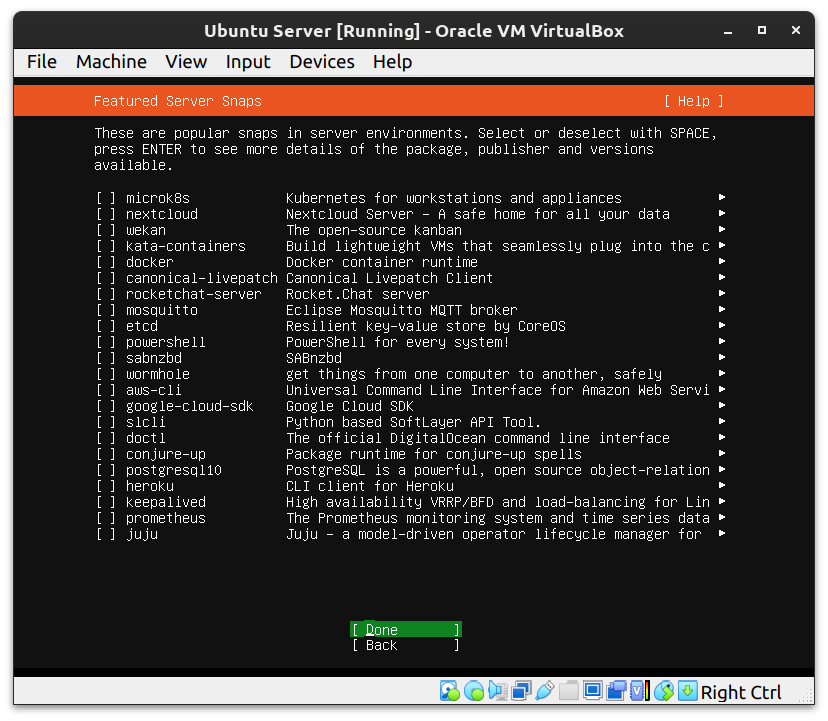
Skip this step and proceed.
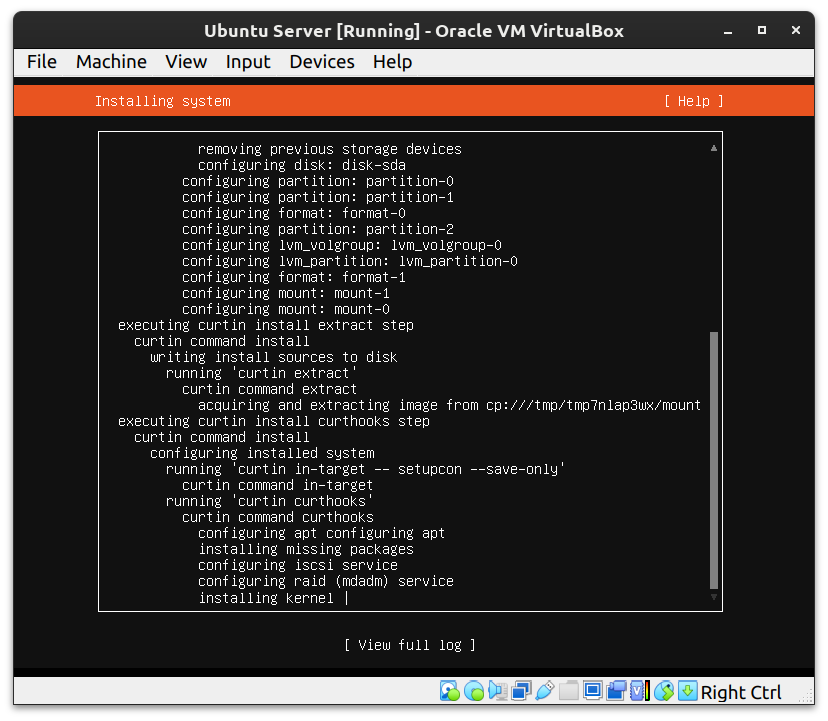
Wait for the installation process to finish. After that, your virtual machine will be ready for the first boot.
Once the installation is complete, you will be prompted to reboot the system. Click Reboot Now to perform the first boot of your newly installed operating system.
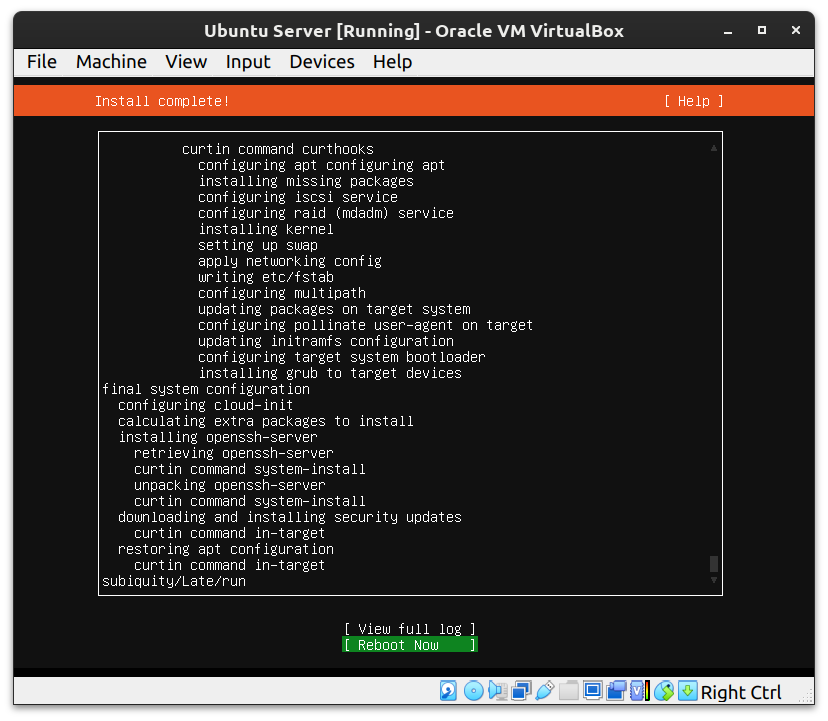
Wait for the reboot to finish — your virtual machine is now ready for further configuration and use.
After completing the installation and rebooting the system, you may encounter an error message. If this happens, carefully check for any checked options or selections that may require your confirmation or adjustment.
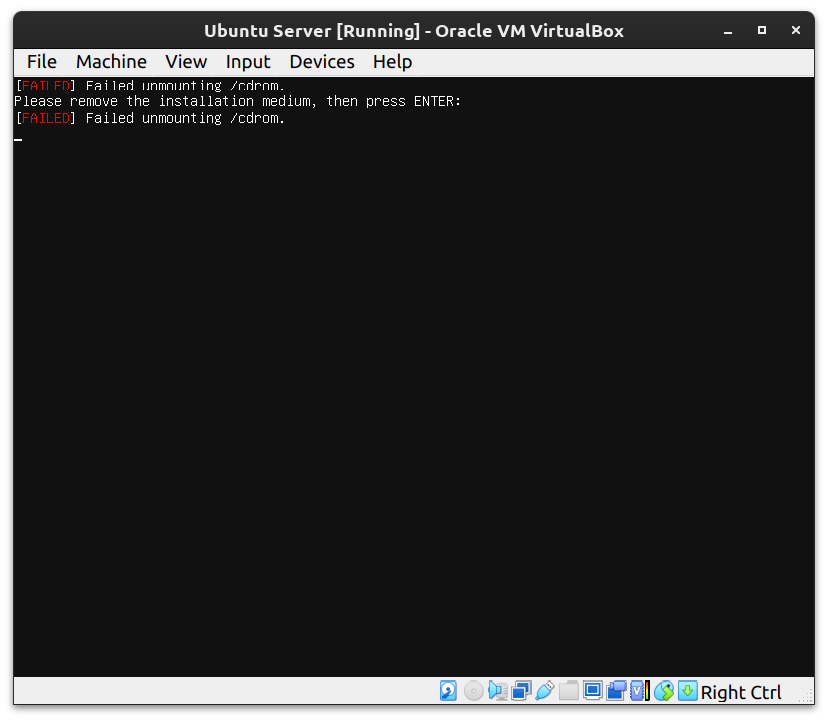
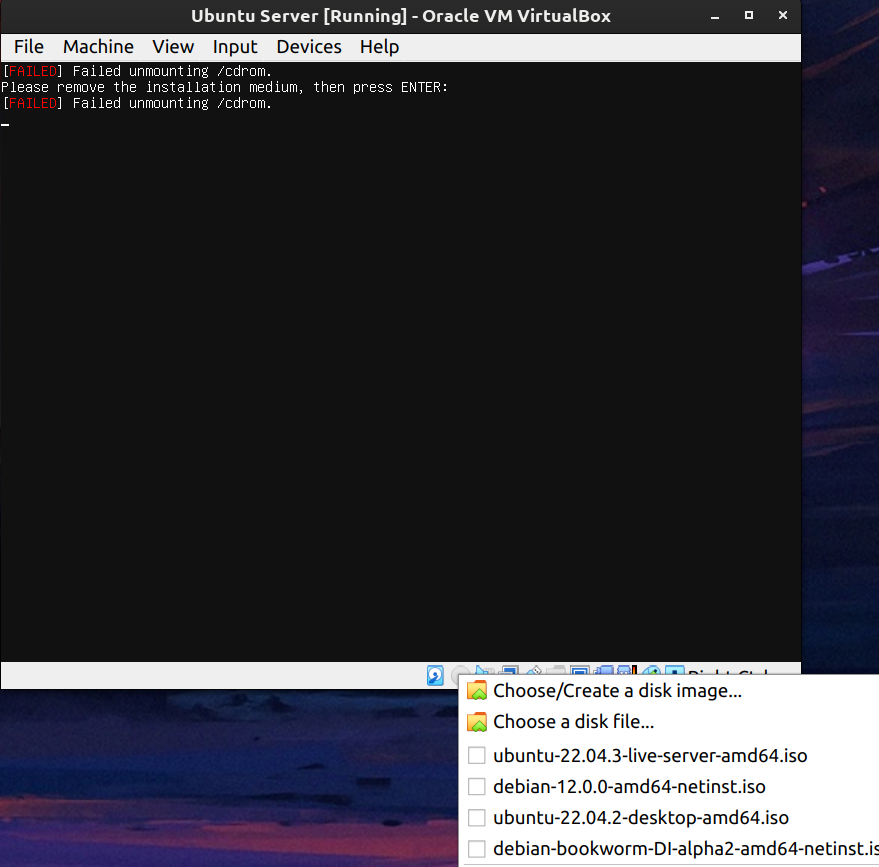
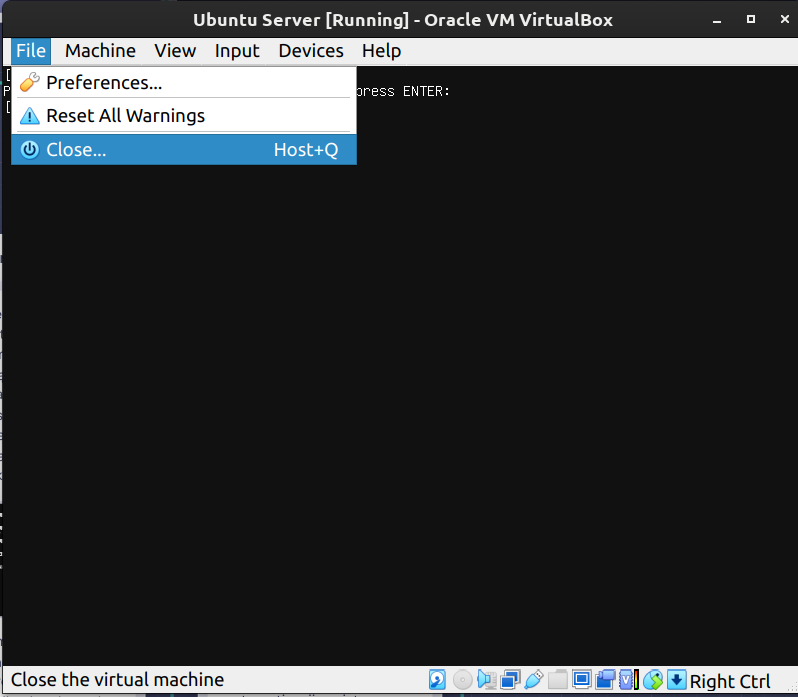
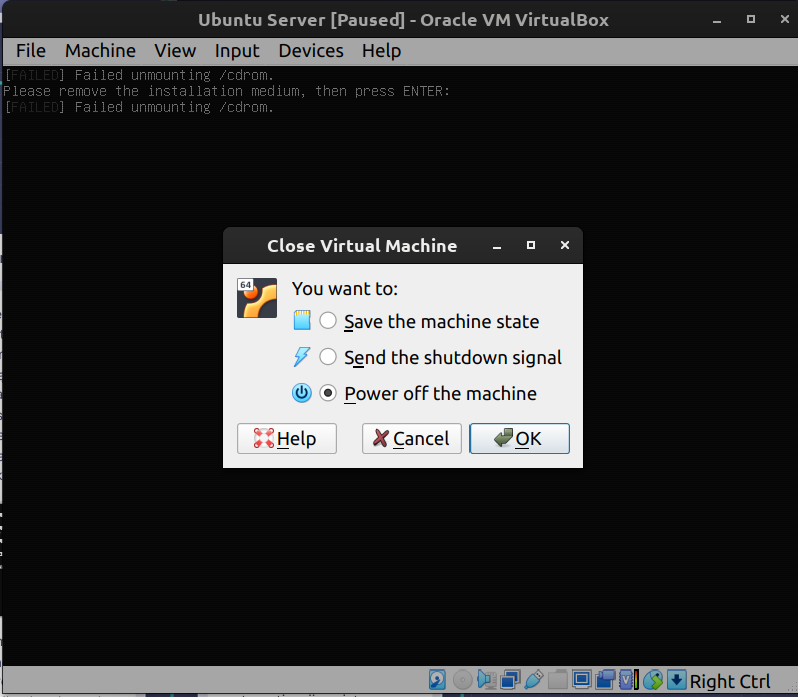
If there are no additional prompts or warnings, proceed to the next configuration step.
Start your Ubuntu Server virtual machine. Once the system has booted, you will be prompted to enter the username and password you created during installation.
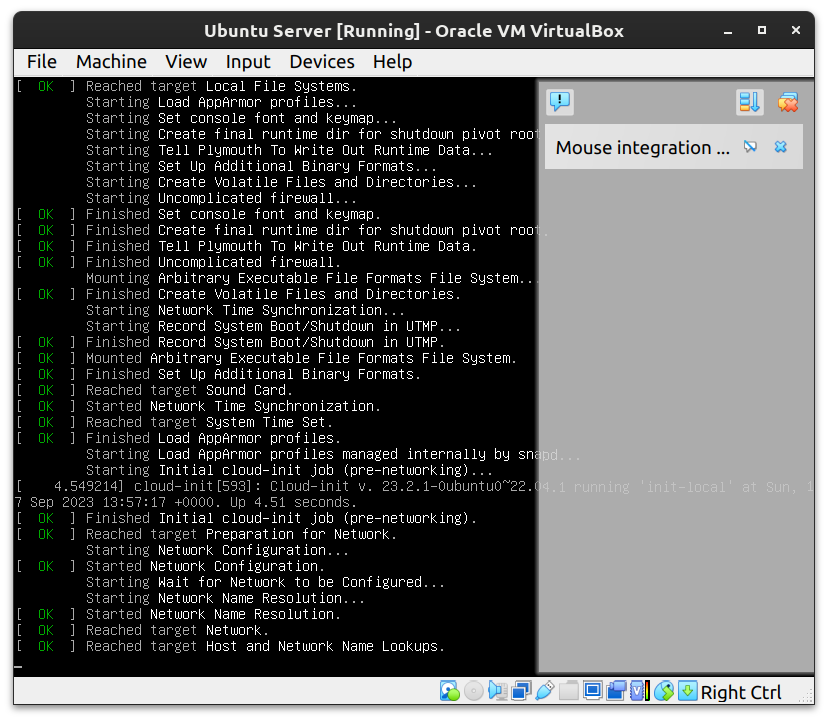
Remember: in Linux, password input is not shown on the screen as characters or asterisks — this is a standard security feature.
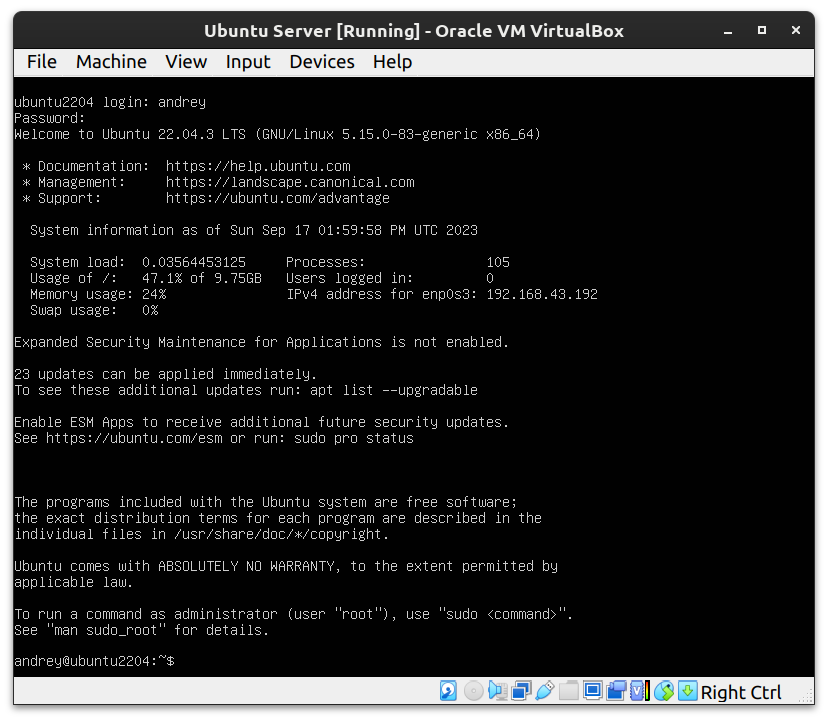
After a successful login, the installation of the operating system on the virtual machine is complete. Your virtual machine’s IP address may be displayed on the screen. If not, you can always retrieve it by running the command ip addr or ifconfig -a in the terminal to list all network interfaces and their assigned IP addresses.
You can now attempt to connect to your server via SSH using the IP address identified above.
Before proceeding with further configuration, it is recommended to update the newly installed system and reboot the server. This will ensure that you have the latest software versions and that your system is protected from known vulnerabilities.
Enter the following commands in the terminal:
sudo apt update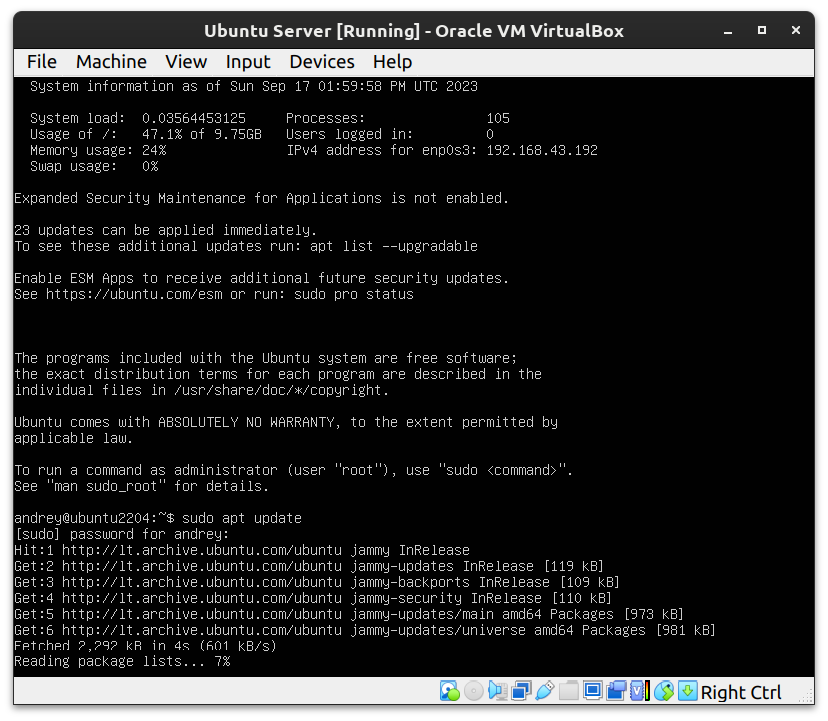
This command updates the list of available packages from the repositories. You will be prompted for your password to confirm execution with administrative privileges.
sudo apt upgrade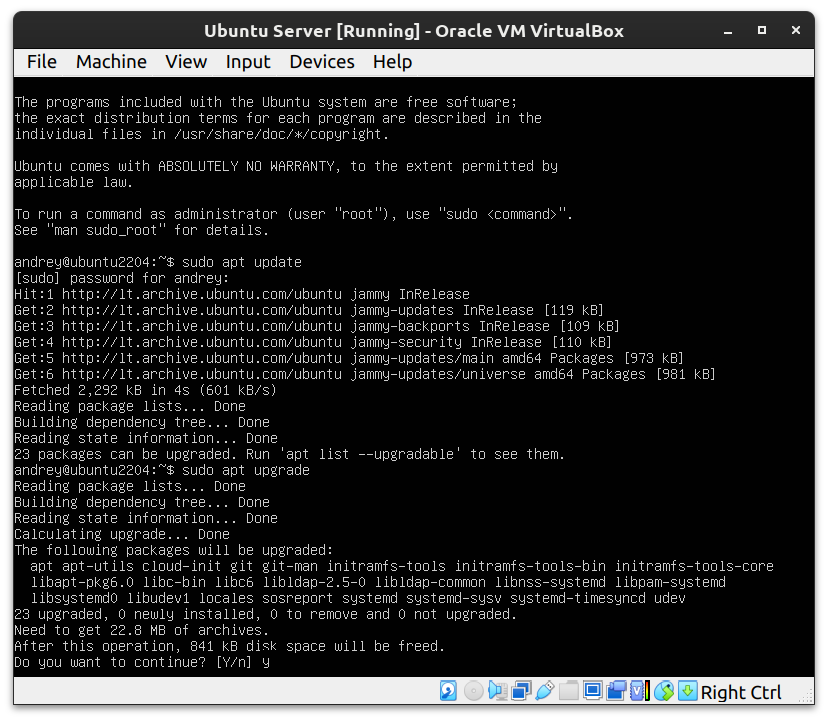
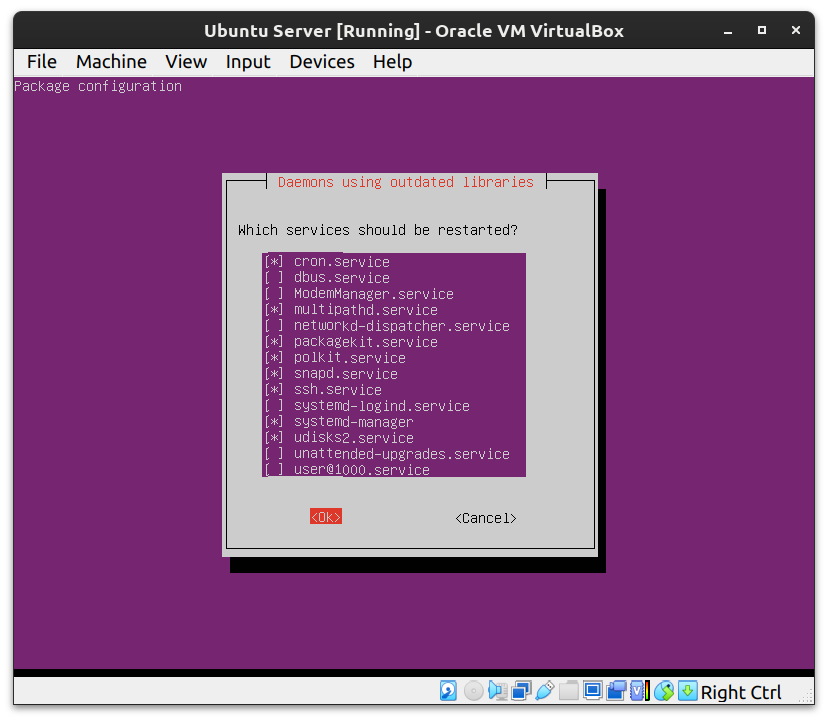
This command installs all available updates for the installed packages. During the process, you will be asked for confirmation — type y and press Enter.
sudo rebootAfter all updates are installed, it is recommended to reboot the server using sudo reboot.
Always perform a system update immediately after installation to ensure security and stability.
After a successful reboot, you can log in to your Ubuntu Server again using the username and password you previously created.
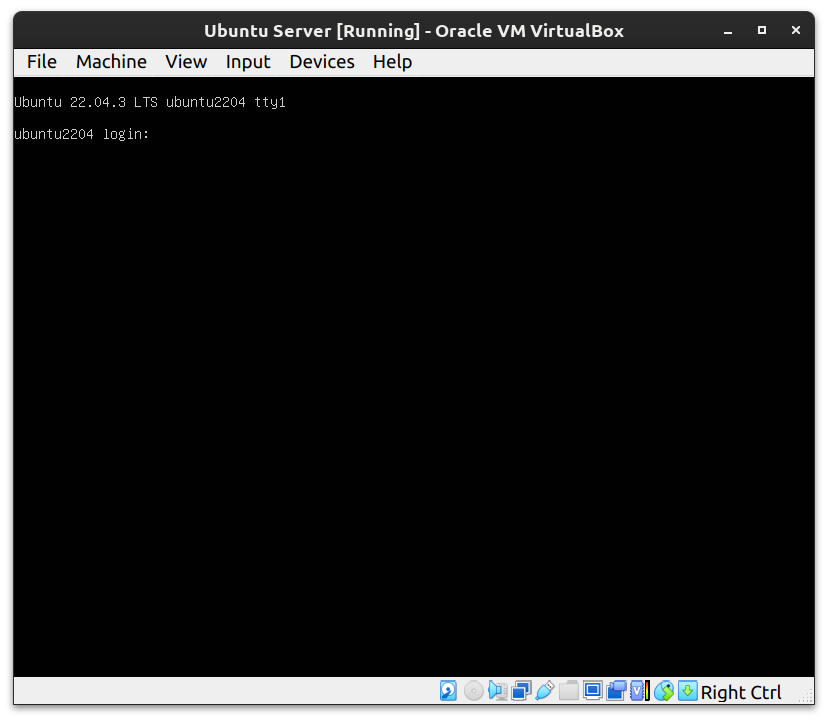
At this stage, it is recommended to attempt connecting to your server via SSH from your main computer. Use the ssh command, specifying your username and the IP address of the virtual machine:
ssh username@ip_addressIf the connection is successful, you will see the command prompt of your virtual machine. You can now perform all administrative tasks remotely.
If you need to power off the virtual machine, you can do this either via the VirtualBox interface (Power Off), or by entering the following command in the terminal:
sudo shutdown now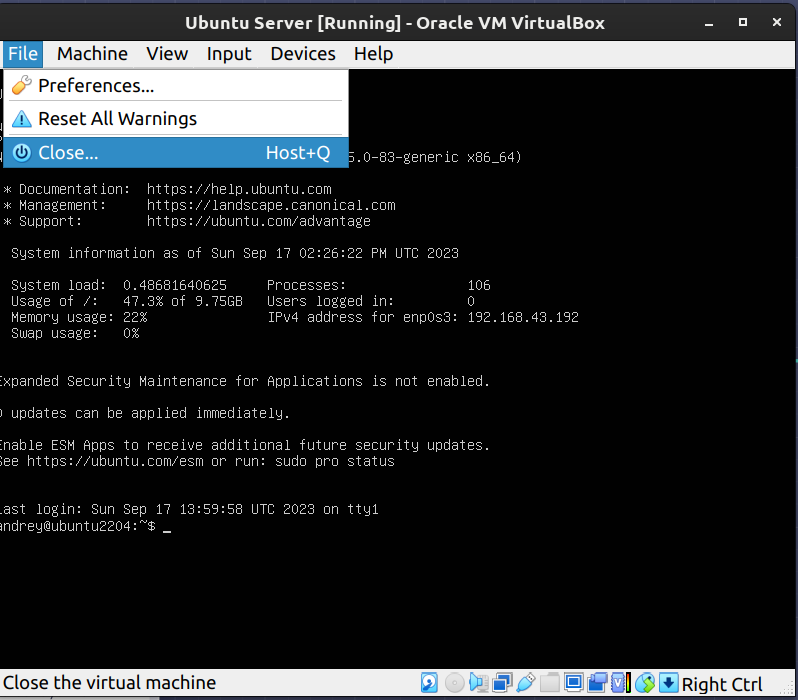
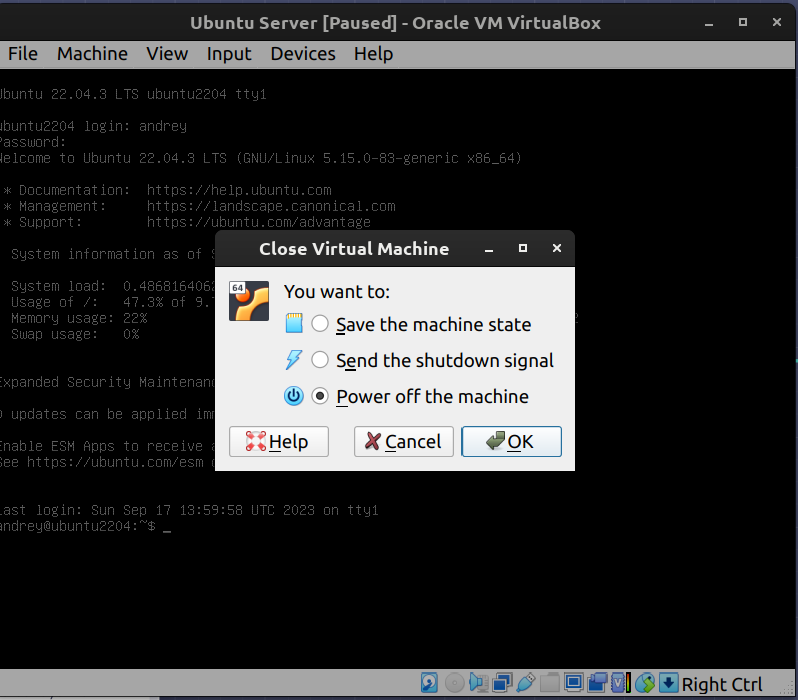
This command will immediately shut down the operating system and power off the virtual machine.
This section is relevant for users of Windows 7 and 8. These operating systems do not have built-in PowerShell with SSH support or the WSL (Windows Subsystem for Linux), which means you need to use third-party applications to connect to your server via SSH.
If you are using Windows 10 or later, you can skip this section. Modern versions of Windows include native PowerShell SSH support and allow you to use WSL to work with SSH and other Linux tools directly from your Windows environment.
For Windows 10 and above, it is recommended to use WSL. Find “WSL” or “Windows Subsystem for Linux” in the Start menu and launch it. This will allow you to run Linux commands, including ssh, directly from Windows.
For Windows 7 and 8, we recommend using third-party SSH clients such as PuTTY or MobaXterm. While these applications are less convenient compared to modern Windows tools, they still enable you to connect to your server via SSH.
You can find more information on working with PuTTY here:
https://wirenboard.com/wiki/PuTTY
MobaXterm is also an alternative SSH client for Windows, though its functionality is limited compared to WSL.
To connect to your virtual machine via SSH, it is recommended to run VirtualBox in headless mode. This allows the server to operate in the background without a graphical interface, saving resources and simulating a real server environment.
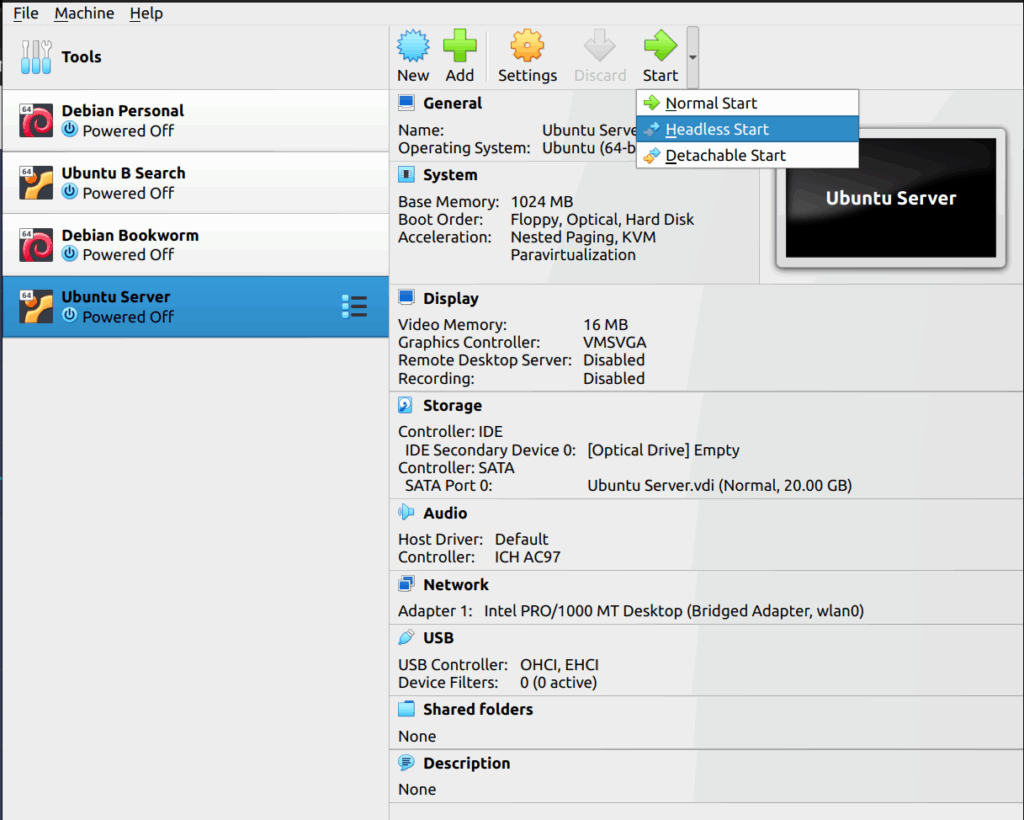
Open PowerShell, WSL, or a terminal (if you are using Linux) on your main computer and execute the following command to connect via SSH:
ssh user@ipHere, user is your username and ip is the IP address of your virtual machine. For example, in my case the command would be:
ssh [email protected]You will use your own username and IP address obtained in the previous steps.
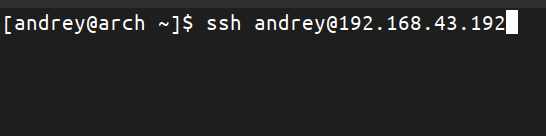
On the first connection attempt, you will be prompted to confirm the authenticity of the remote server — type yes and press Enter.

Then, enter your user password when prompted. Upon successful authentication, you will have access to your virtual machine’s command line via SSH.
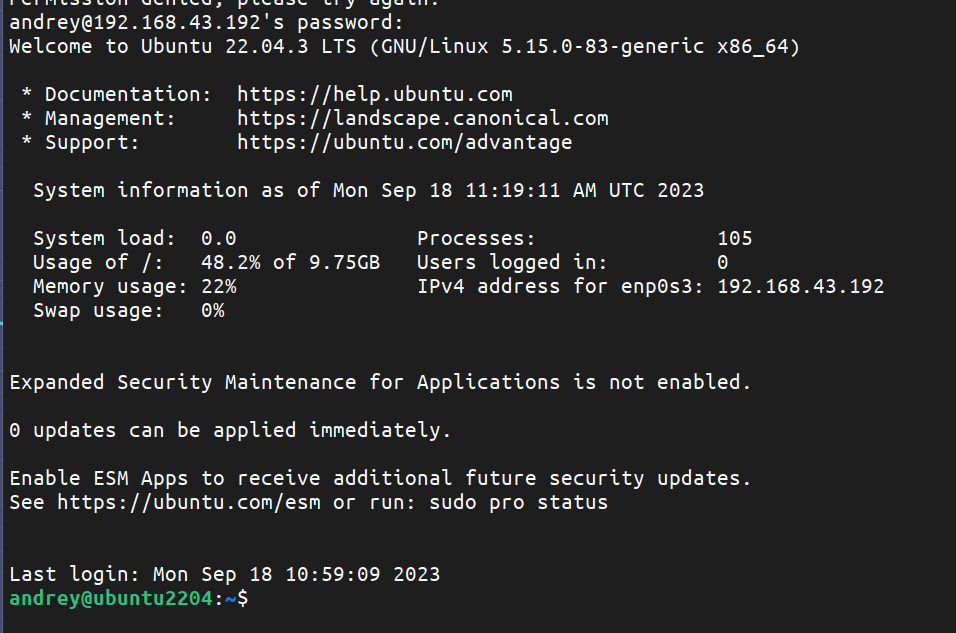
To end the SSH session, use the command:
exit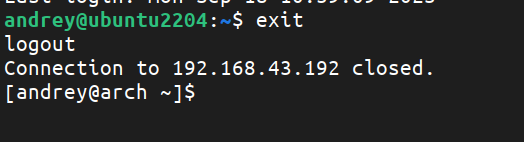
You will then return to your main operating system’s terminal.
