LESSON 4. Creating a Free AWS Account
DESCRIPTION
AWS offers 6-month free period with up to $200 credits. Registration process consists of 10 steps.
WHAT YOU WILL LEARN
AWS Free Tier contents
Registration requirements
Account creation process (10 steps)
Email and phone verification
Free vs Paid plan selection
First look at AWS Console
AWS FREE TIER 2026
Period: 6 months
Credits: $100 starter + up to $100 additional = up to $200
Includes: EC2 750h, S3 5GB, RDS 750h, Lambda 1M requests
REQUIREMENTS
Email address
Phone number
Credit card (AWS holds $1 for 3-5 days)
Postal address
REGISTRATION STEPS
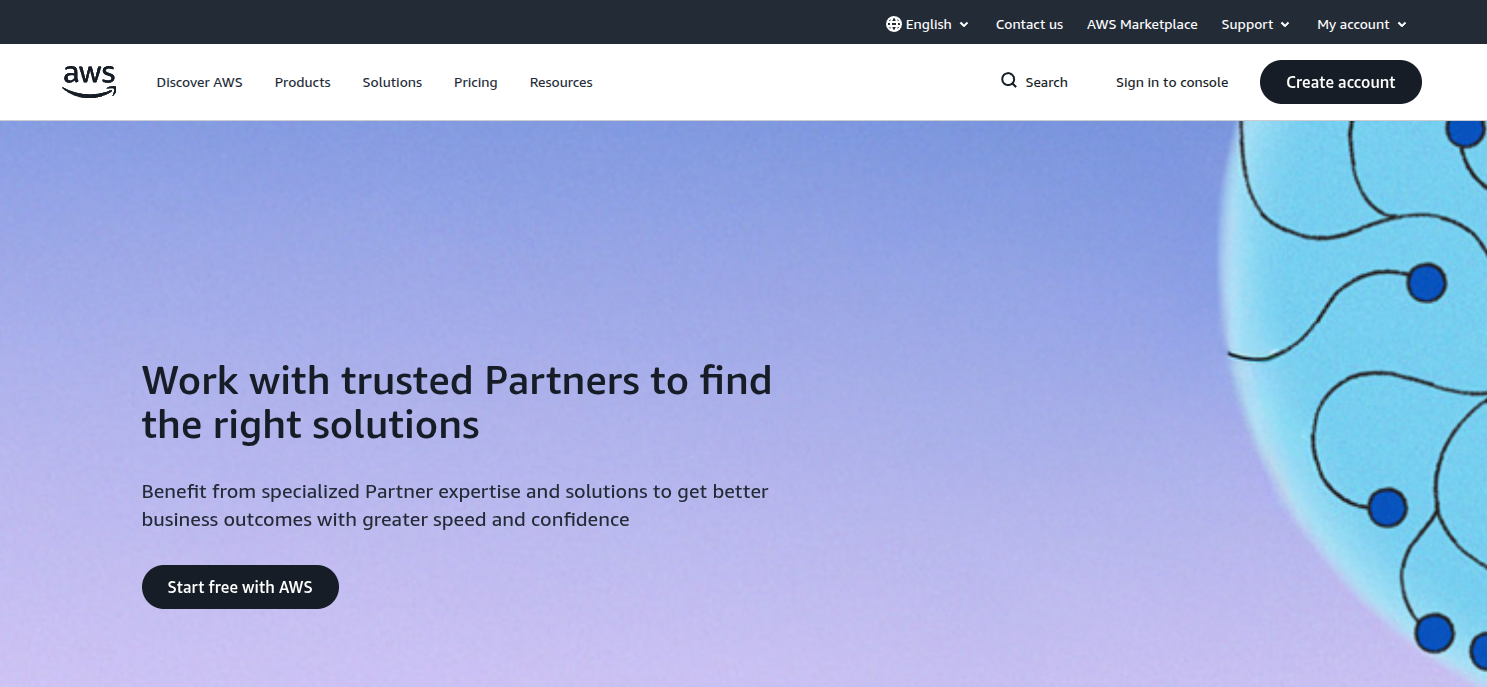
STEP 1: HOMEPAGE
Go to aws.amazon.com
Click “Create account” (black button top right)
STEP 2: EMAIL AND ACCOUNT NAME
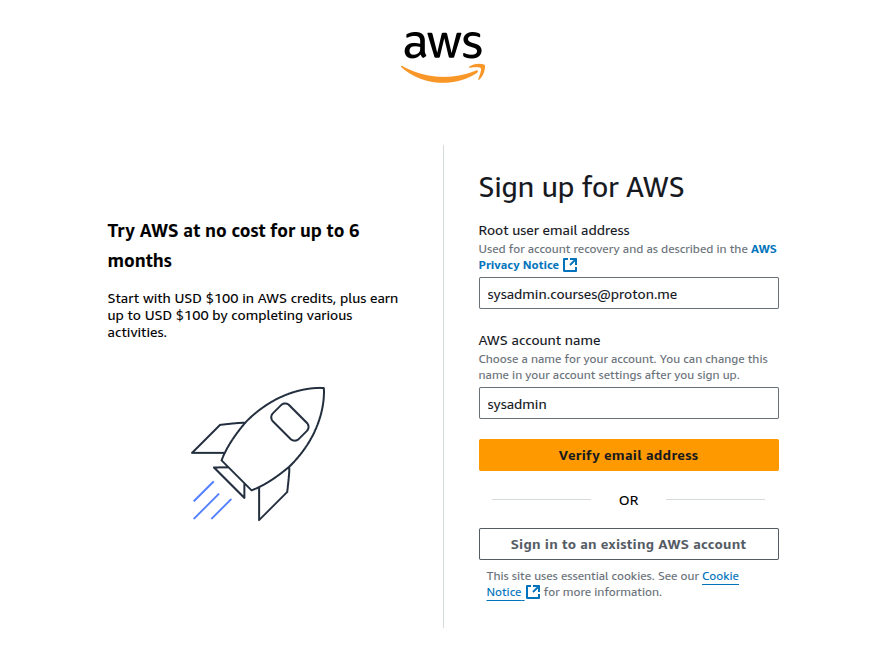
Page “Sign up for AWS”
Left: “Try AWS at no cost for up to 6 months”
Fill in:
Root user email address
AWS account name
Click “Verify email address”
STEP 3: EMAIL CONFIRMATION
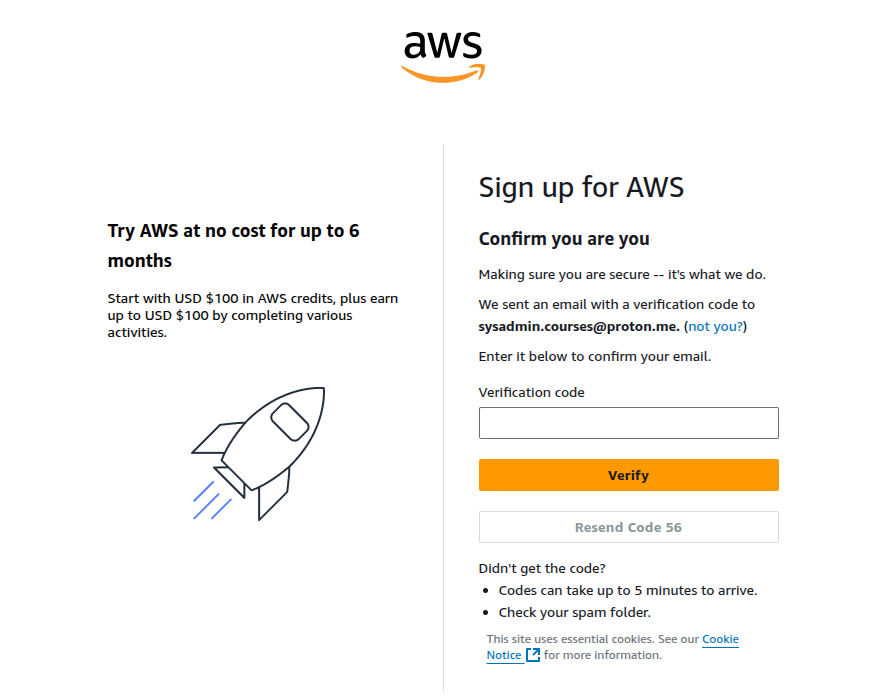
Page “Confirm you are you”
AWS sends verification code to email
Enter 6-digit code
Click “Verify”
STEP 4: CREATE PASSWORD
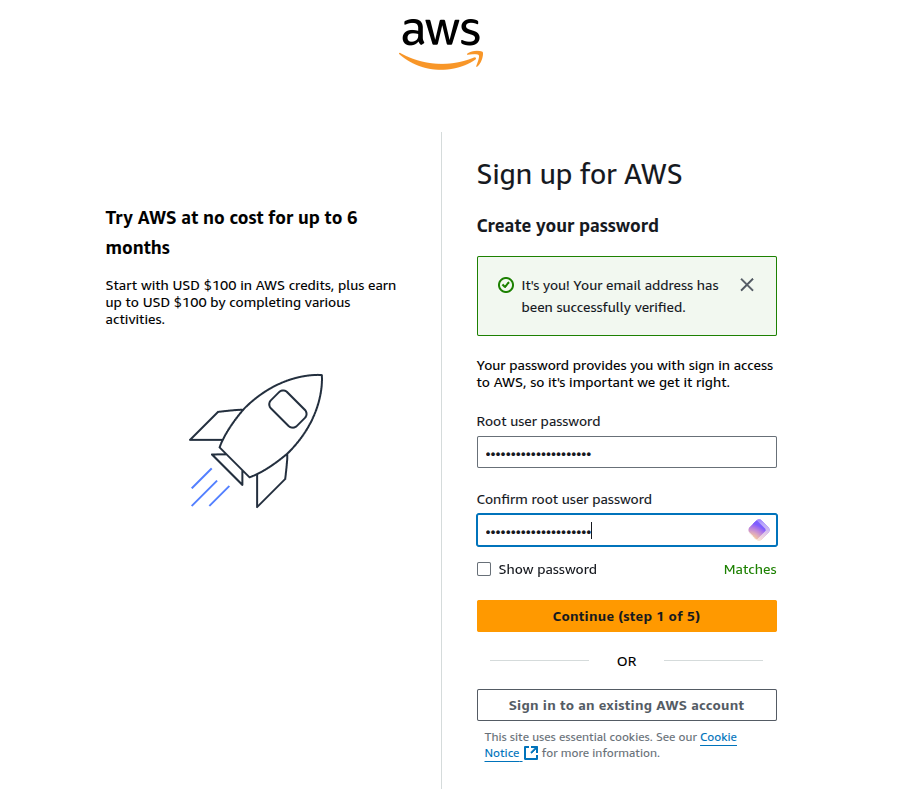
Page “Create your password”
Green message: “It’s you! Your email address has been successfully verified”
Root user password – min 8 chars
Confirm root user password
Click “Continue (step 1 of 5)”
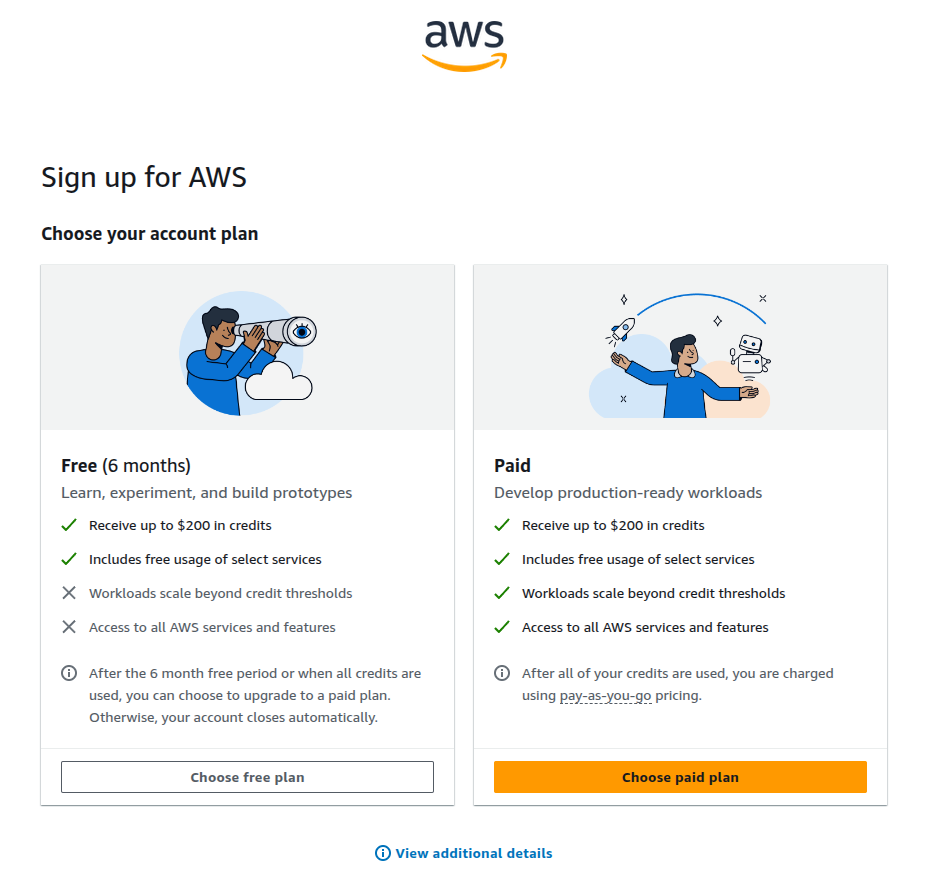
STEP 5: CHOOSE PLAN
Page “Choose your account plan”
FREE (6 months):
Learn, experiment, and build prototypes
✓ Receive up to $200 in credits
✓ Includes free usage of select services
✗ Workloads scale beyond credit thresholds
✗ Access to all AWS services and features
After 6 months: upgrade or close
Button: “Choose free plan”
PAID:
Develop production-ready workloads
✓ Receive up to $200 in credits
✓ Includes free usage of select services
✓ Workloads scale beyond credit thresholds
✓ Access to all AWS services and features
After credits: pay-as-you-go
Button: “Choose paid plan”
For learning select “Choose free plan”
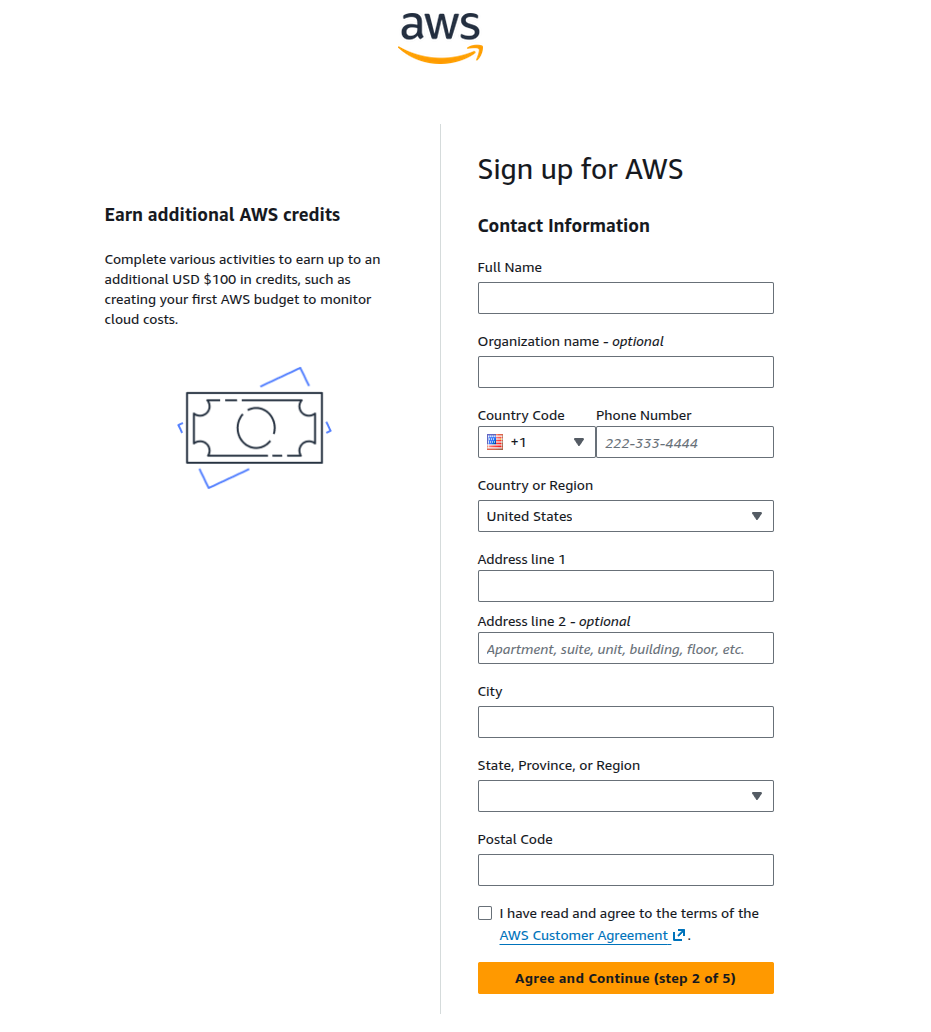
STEP 6: CONTACT INFORMATION
Page “Contact information”
Left: “Earn additional AWS credits”
Fill in:
Full Name
Organization name (optional)
Country Code and Phone Number
Country or Region
Address line 1
Address line 2 (optional)
City
State, Province, or Region
Postal Code
Check: “I have read and agree to AWS Customer Agreement”
Click “Agree and Continue (step 2 of 5)”
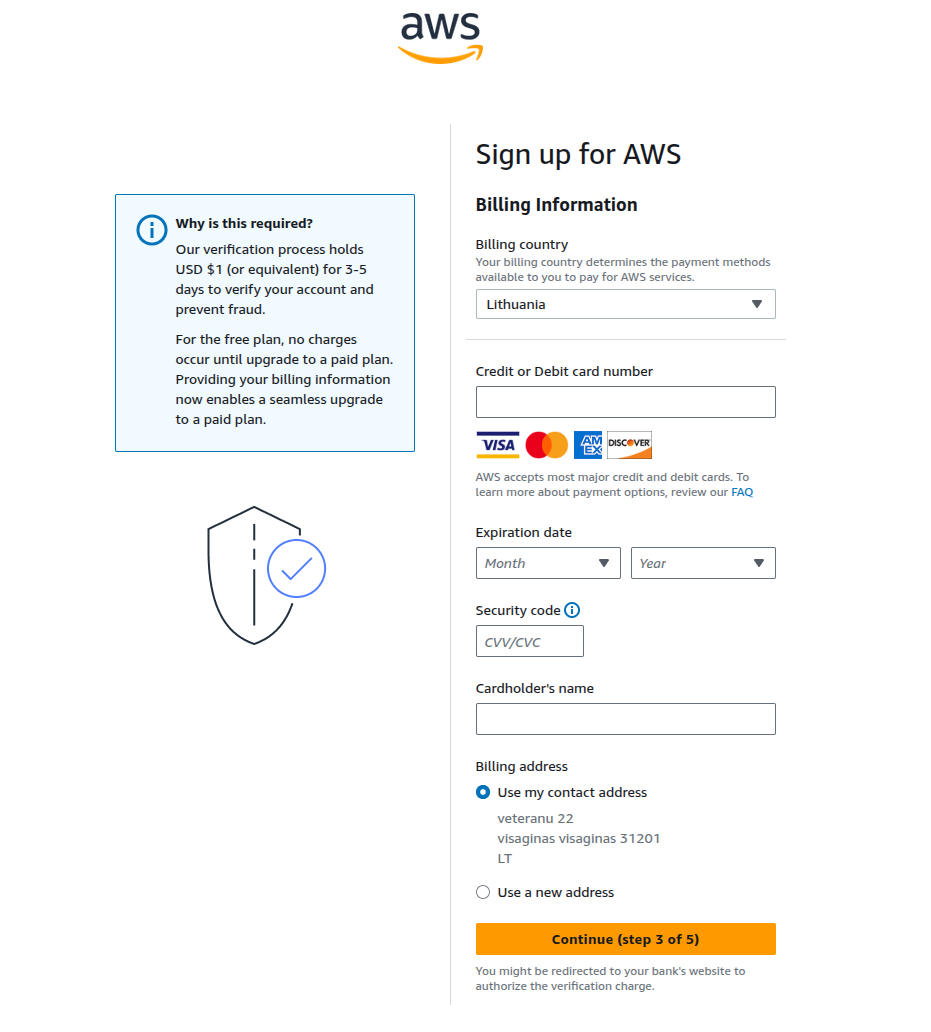
STEP 7: PAYMENT INFORMATION
Page “Billing Information”
Left: “Why is this required?”
AWS holds $1 for 3-5 days for verification
Fill in:
Billing country
Credit or Debit card number
Expiration date (Month | Year)
Security code (CVV/CVC)
Cardholder’s name
Billing address: “Use my contact address”
Click “Continue (step 3 of 5)”
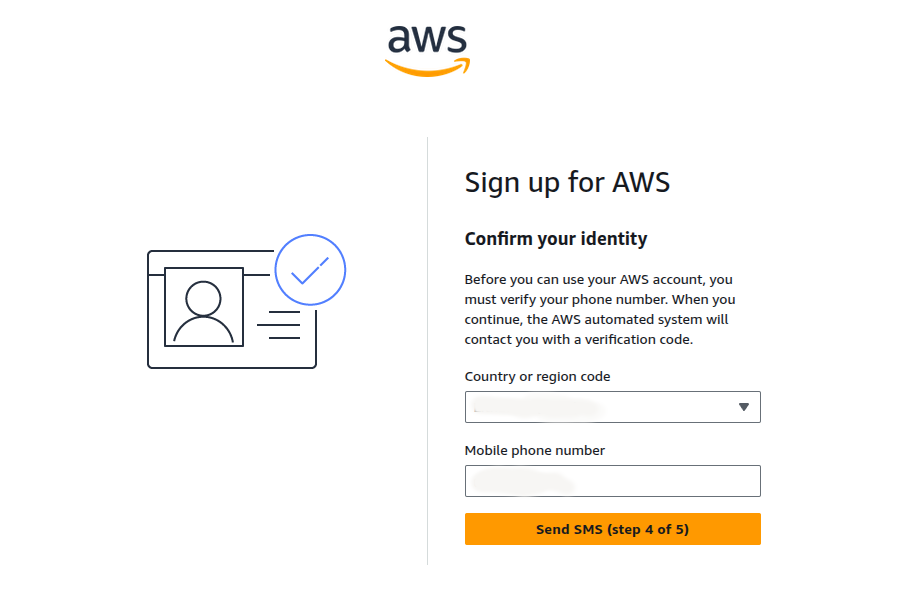
STEP 8: PHONE CONFIRMATION
Page “Confirm your identity”
AWS sends SMS with code
Fill in:
Country or region code
Mobile phone number
Click “Send SMS (step 4 of 5)”
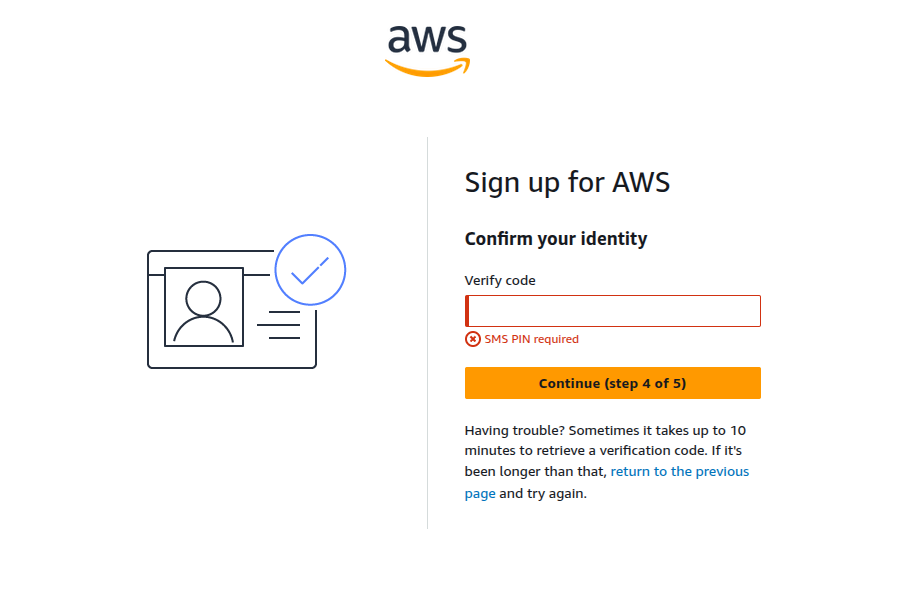
STEP 9: ENTER SMS CODE
Page “Confirm your identity”
Verify code – enter 4-digit SMS code
If not entered: “SMS PIN required”
Click “Continue (step 4 of 5)”
STEP 10: AWS MANAGEMENT CONSOLE
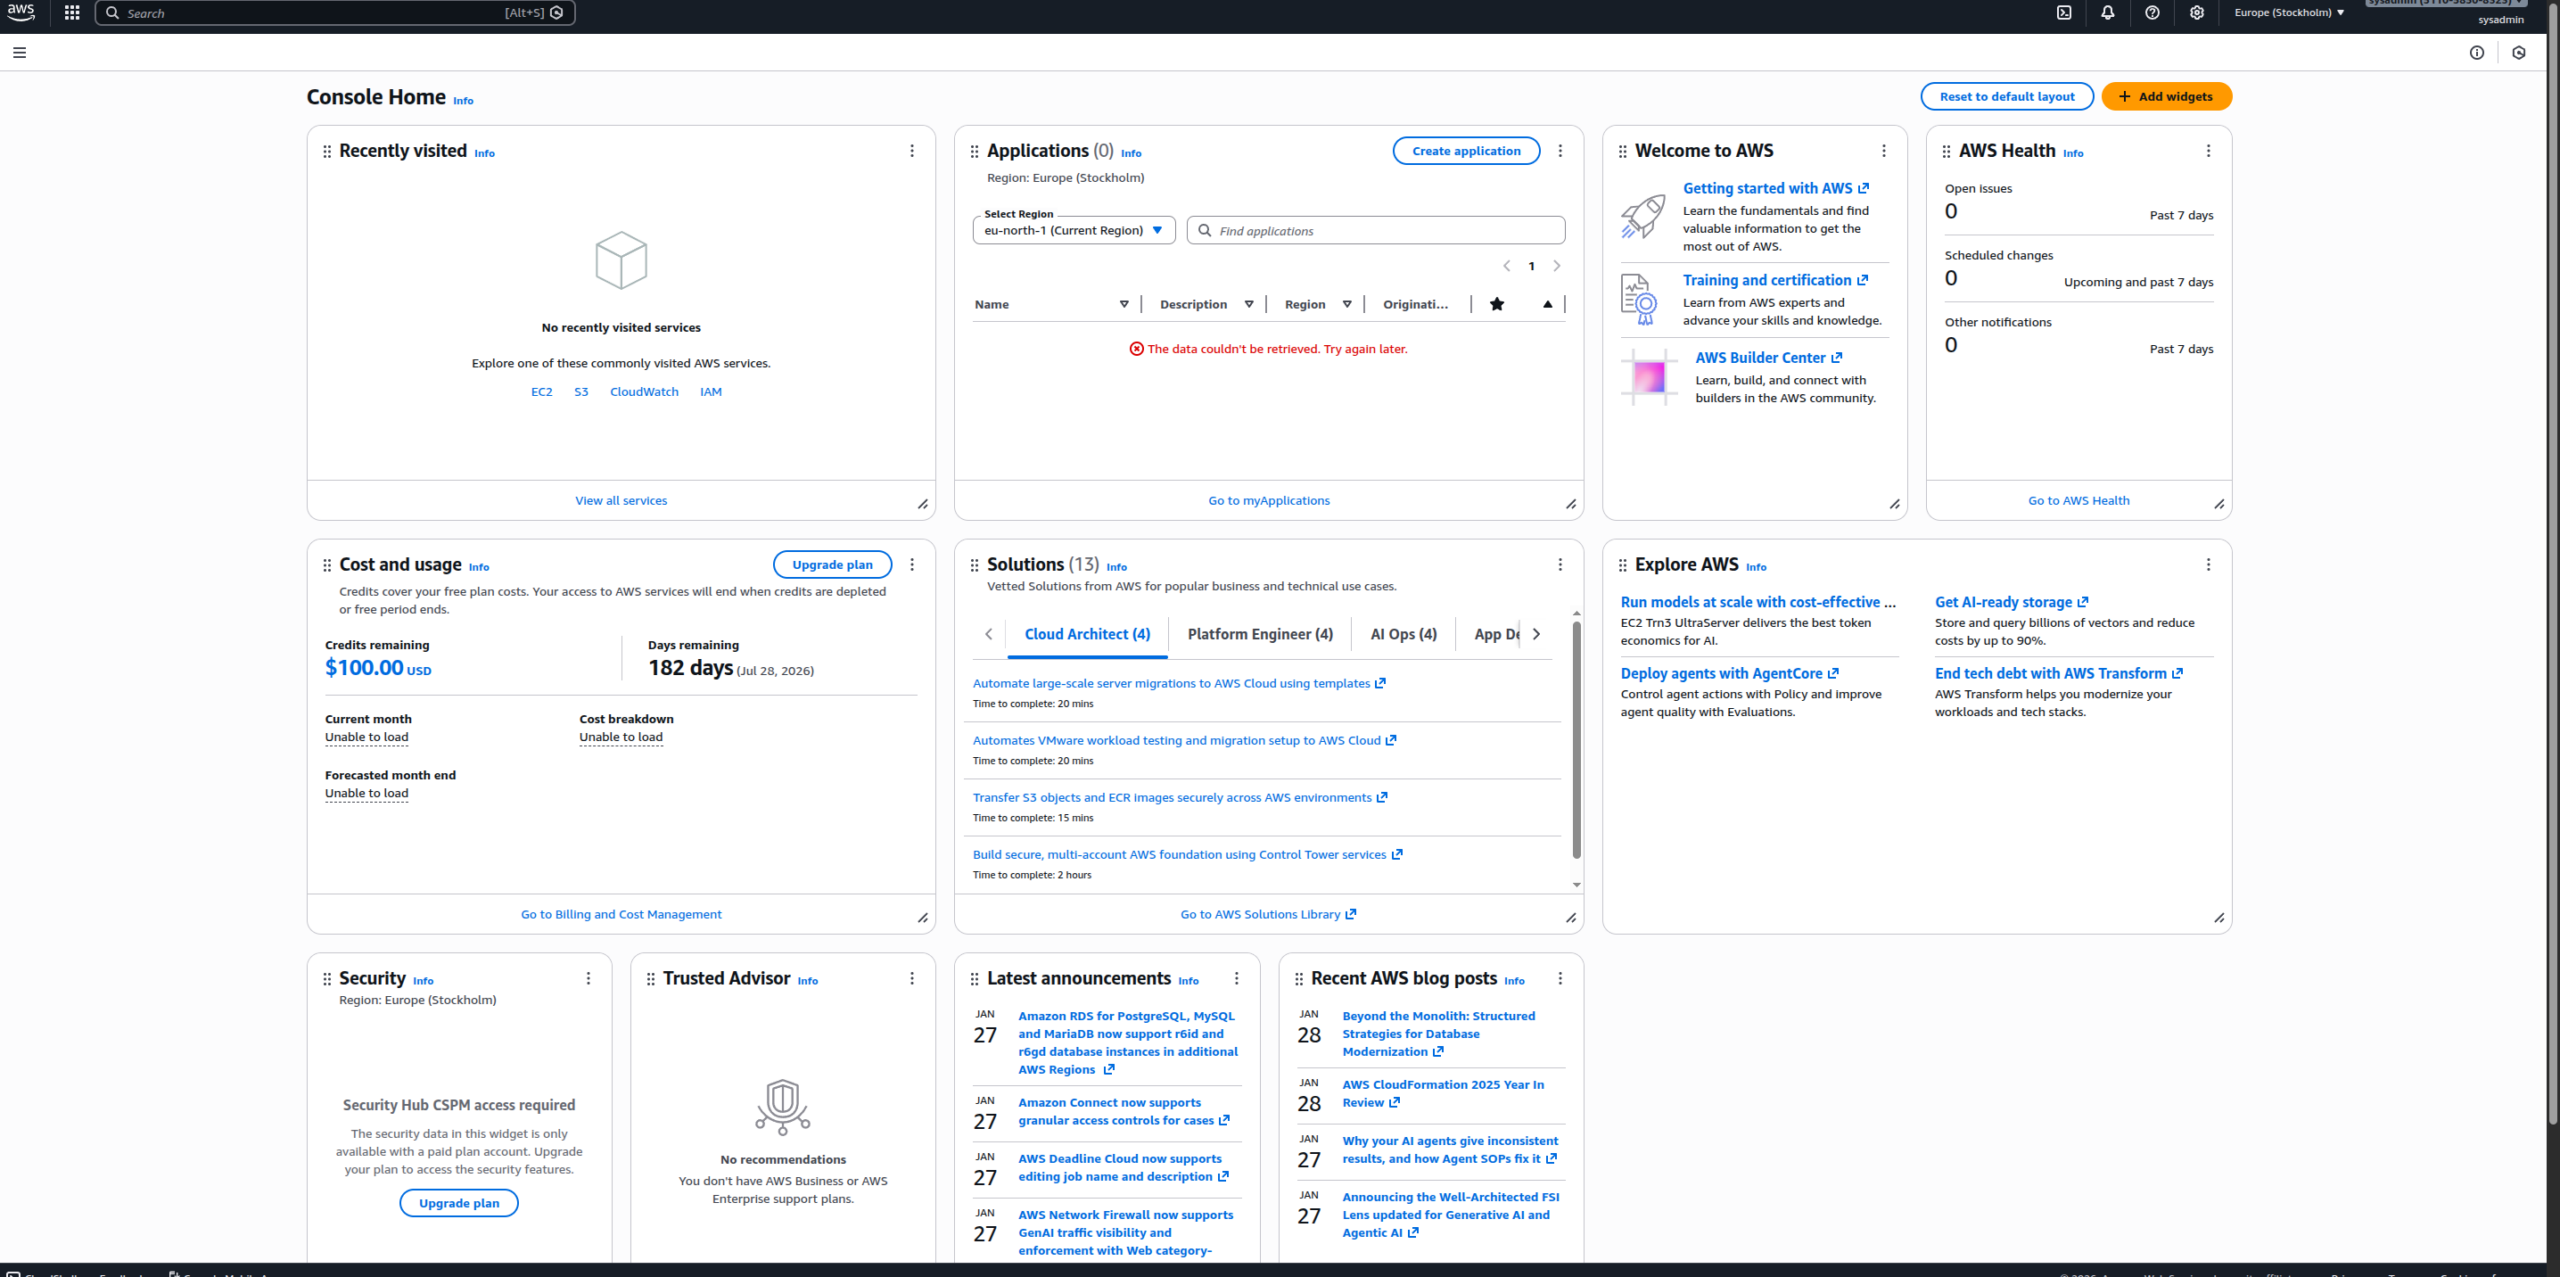
Congratulations! Account created!
Console Home with widgets:
Cost and usage:
Credits remaining: $100.00
Days remaining: 182 days
Recently visited
Welcome to AWS
Solutions
AWS Health
Explore AWS
FIRST STEPS
1. Enable MFA for root user (IAM → Add MFA)
2. Create IAM user (don’t use root)
3. Configure billing alerts ($5-10)
4. Monitor Credits and Days remaining
IMPORTANT
FREE TIER: 6 months, up to $200 credits
CARD: $1 hold for 3-5 days (returns)
ROOT: critical tasks only
REGION: always check before creating resources
COMMON MISTAKES
Forget to stop EC2 instances
Create resources in wrong region
Exceed Free Tier limits
No billing alerts
Use root instead of IAM
No MFA enabled
TEST YOURSELF
1. How long is Free Tier?
2. How many credits available?
3. What’s needed for registration?
4. Which step to choose plan?
5. What code comes by email?
6. What code comes by SMS?
7. What to do after registration?
CONCLUSIONS
AWS Free Tier: 6 months, up to $200 credits
Registration: 10 steps
Verification: email (6 digits) + SMS (4 digits)
Plan selection: step 5 (Free for learning)
After registration: MFA + IAM user + billing alerts
Monitor: Credits remaining + Days remaining
Next lesson: IAM setup.
